A refrigerator that is both loud and not cooling is usually telling you one specific thing is wrong — and in most cases it is not a complete breakdown. The sound is your best diagnostic clue. A buzzing or humming that is louder than usual almost always points to a fan or coil problem. Repeated clicking from the back of the unit is the compressor struggling to start. Grinding typically means a fan blade is hitting ice or debris. GE Appliances troubleshooting guidance also notes that a loud click with a warm interior can point to the condenser fan, compressor, or control board, so clicking is not one single fault. GE Appliances puts it plainly: "The low-grade hum and occasional clicking of a refrigerator is regular background noise in your home." When the sound gets louder, more rhythmic, or pairs with rising temperatures, the diagnosis moves from normal operation to a real repair problem. Here is how to read what your fridge is telling you.
Why a refrigerator is loud and not cooling: quick diagnosis by sound
When a refrigerator is simultaneously loud and warming up, the noise and the cooling failure usually share the same root cause. The refrigerator cools by cycling refrigerant through evaporator and condenser coils using a compressor, with fans moving air across both sets of coils. If any part of that system — a fan motor, a coil, or the compressor itself — is struggling, you get both symptoms at once.
[Image: Diagnostic flowchart — loud noise + not cooling, sorted by sound type]
Use this quick-answer guide to narrow down the likely cause before touching anything:
| Sound | Where it seems to come from | Most likely cause | Urgency |
|---|---|---|---|
| Loud humming or buzzing | Inside freezer compartment | Evaporator fan motor failing or iced over | Moderate — check within 24 hrs |
| Loud humming or buzzing | Back, lower panel | Condenser fan struggling; dirty coils | Low-moderate — clean coils first |
| Repeated clicking (every 2–5 min) | Back, lower right | Start relay, overload protector, or compressor | High — stop DIY, call a tech |
| Grinding or scraping | Inside freezer | Fan blade hitting frost buildup | Moderate — defrost cycle may fix it |
| Rattling | Back, lower panel | Loose drain pan or condenser fan guard | Low — usually a quick tighten |
| Occasional click | Anywhere | Normal defrost timer, dual evaporator valve cycling | Normal — not a failure |
Whirlpool notes that repetitive clicking can be a normal sound when the dual evaporator valve regulates cooling — so clicking alone is not always a failure. The key question is whether it comes with warm temperatures inside.
GE Appliances' troubleshooting guidance acknowledges that "the low-grade hum and occasional clicking of a refrigerator is regular background noise in your home" — emphasis on low-grade. When the hum gets noticeably louder or the clicking becomes rhythmic and repeated, combined with a warm interior, you have moved from normal operation into a genuine refrigerator repair situation.
Pro Tip: Before opening any panels, put an inexpensive refrigerator thermometer (around $8–12 at any hardware store) in both the fridge and freezer compartments. Knowing whether the freezer is also warming up — or whether it's cold while the fridge section is warm — tells you whether airflow or the sealed system is the likely problem.
Most common causes of a noisy refrigerator that is not cooling
These causes are ordered from easiest to diagnose and fix at home to most serious and expensive. A good refrigerator repair diagnosis always starts at the top of this list, not the bottom. HomeAdvisor's 2025 refrigerator repair cost guide says the average cost of refrigerator repair is $650, with prices ranging from $200 to $1,300.
| Cause | Typical sound | DIY safe? | Approx. repair cost |
|---|---|---|---|
| Dirty condenser coils | Loud hum, running constantly | Yes — vacuum and brush | $0 (DIY) |
| Condenser fan failing | Loud hum or buzz from back | Fan swap: intermediate | $75–$200 parts + labor |
| Evaporator fan iced over | Grinding/scraping from freezer | Yes — manual defrost | $0 if frost; fan ~$50–$150 |
| Defrost system failure | Grinding, warm fridge only | Defrost heater: intermediate | $100–$250 parts + labor |
| Start relay/overload failure | Repeated clicking from back | Relay swap: intermediate | $10–$50 part |
| Compressor overheating or failing | Repeated clicking, hot cabinet | No — pro only | $250–$650 (HomeAdvisor) |
| Refrigerant leak (sealed system) | Faint hiss, constant running | No — pro only | $150–$400 (HomeAdvisor) |
| Evaporator coil replacement | Poor cooling, frost issues | No — pro only | $200–$300 (HomeAdvisor) |
| Control board failure | Clicking from rear, erratic behavior | No — pro only | Varies by board |
The U.S. Department of Energy puts it plainly: "When coils are dirty with lint, dust, or pet hair, the refrigerator has to work harder than it's designed to, which can prevent the appliance from cooling properly and efficiently." Dirty coils can raise your energy cost by as much as 35% and shorten the appliance's life. That stat matters practically because it means coil cleaning is never just cosmetic — it directly affects whether your fridge can maintain temperature.
The average cost of refrigerator repair across all fault types runs around $650, with a range of $200 to $1,300 according to HomeAdvisor's 2025 cost guide. Compressor repair alone runs $250–$650, which is why the DIY-versus-tech decision matters financially.
Evaporator fan problems in the freezer section
A bad evaporator fan is one of the most common reasons a fridge is loud and not cooling well — and it is often misread as a compressor problem.
The evaporator fan sits inside the freezer compartment behind a rear panel. Its job is to pull air across the evaporator coils (where refrigerant gets cold) and push that chilled air through vents into both the freezer and refrigerator sections. When the fan motor begins to fail — or when ice buildup locks the blade — you hear a grinding or loud humming from inside the freezer, and cooling in the fresh-food section drops off first because it is farther from the source.
Fan-noise symptom card: - Grinding or scraping from inside the freezer → blade hitting frost buildup (try manual defrost first) - Loud buzzing from inside the freezer that stops when you open the freezer door → fan motor shutoff switch tripped (door switch may be stuck) - Freezer at normal temp, fridge section warm → fan running but airflow duct to fridge section blocked
One-minute visual inspection: 1. Remove all food from the freezer and pull out shelving. 2. Look at the back panel — is there visible frost coverage across the entire panel face? Heavy frost usually means a defrost system issue rather than the fan itself. 3. Press the door switch manually (the small button the door normally depresses). You should hear the fan running. If silence, the fan motor is the likely culprit. 4. Listen for grinding — if it stops when you press the door switch, the blade is catching on ice. 5. Check that freezer vents are not blocked by a bin, bag, or sheet of frost; blocked vents can mimic fan failure by starving the fresh-food section of cold air. 6. If the freezer is cold but the refrigerator compartment is warm, focus on airflow and fan performance before assuming a sealed-system issue.
Whirlpool's not-cooling troubleshooting guidance emphasizes distinguishing fan and airflow issues from temperature-setting and external heat-source problems before assuming a mechanical fault. Always confirm controls are set correctly and the fridge is not near a heat source before pulling panels.
Watch Out: Do not force-spin the evaporator fan blade manually if the unit is still plugged in. Unplug before any hands-inside-freezer inspection.
Condenser coils and condenser fan problems
Dirty condenser coils and a struggling condenser fan are the most preventable noise-and-no-cooling combination in the list.
The condenser coils — located either on the back of the refrigerator or underneath behind a toe-kick grille — release the heat the refrigerant has absorbed from inside the fridge. When those coils are coated in dust, pet hair, and lint, the refrigerant can't shed heat efficiently. The compressor runs longer and harder, the condenser fan motor labors audibly, and the cabinet interior gradually warms.
The DOE recommends cleaning condenser coils regularly as standard maintenance, not just a fix for an existing problem. The 35% energy-cost penalty for dirty coils is meaningful in dollar terms — it can show up quickly on utility bills and shorten appliance life.
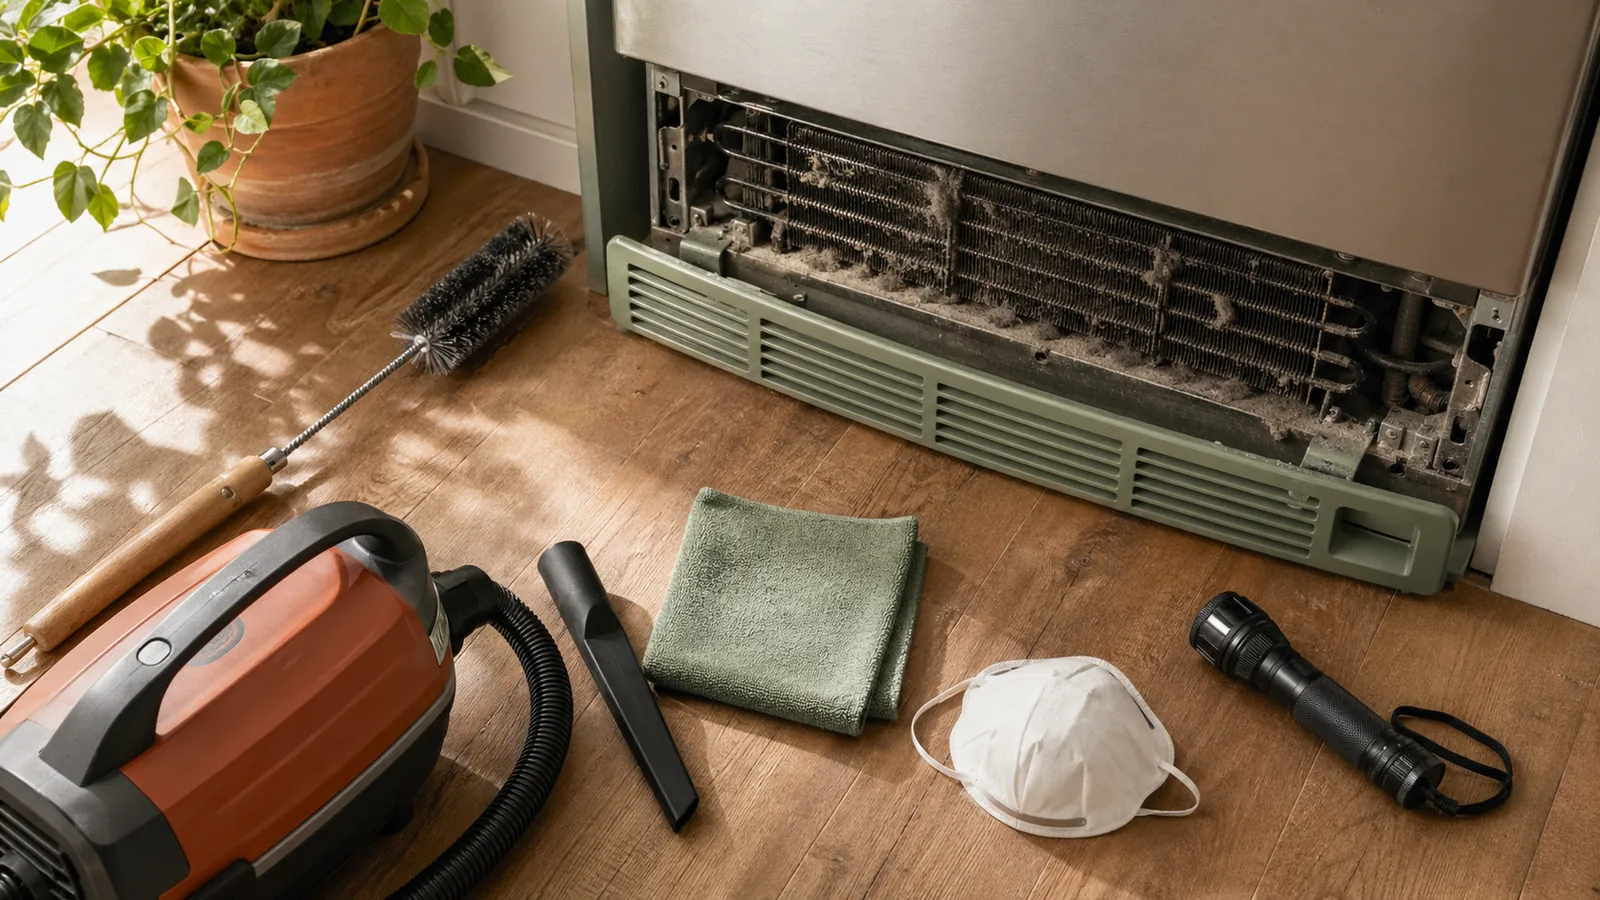
Coil-cleaning mini checklist: 1. Unplug the refrigerator. 2. Pull it away from the wall (bottom coils) or look at the back (rear-coil models). 3. Use a vacuum with a brush attachment — a Refrigerator Coil Cleaning Brush (around $10–$15, widely available at hardware stores) fits into tight coil fins. 4. Vacuum all loose debris, then use the brush to dislodge compacted lint. 5. Also vacuum the condenser fan blade and guard while you're there — a clogged fan guard forces the motor to work harder. 6. Push the fridge back, replug, and listen: a quieter hum means you fixed the problem or significantly reduced it.
Pro Tip: If your condenser coils are underneath, clean them every six months if you have pets, annually if you don't.
What homeowners can safely vacuum: the coils themselves, the fan guard, and the area around the compressor. What to leave alone: the compressor body, any refrigerant lines, and any electrical connectors you need to unplug to access the coil area.
Defrost system failures that block airflow
A defrost system failure is sneaky because the fridge initially seems to cool fine — until it doesn't.
Modern frost-free refrigerators run an automatic defrost cycle every 8–12 hours, briefly heating the evaporator coils to melt accumulated frost. When the defrost heater, defrost thermostat (thermistor), or defrost timer fails, that cycle stops. Frost builds steadily across the evaporator coils and eventually becomes a solid ice block. At that point, airflow through and around the coils is severely restricted, cooling drops sharply, and the evaporator fan may begin grinding against the ice — producing a loud scraping sound.
Frost-pattern symptom guide: - Thin, even frost across the back panel of the freezer → normal; defrost cycle may just be delayed - Thick ice (more than ¼ inch) covering the entire back panel → defrost system has likely failed - Ice on the evaporator fan blade → fan is grinding because the defrost cycle isn't running - Warm fridge, cold freezer, frost visible behind freezer panel → classic defrost failure pattern
Temporary fix vs. deeper problem: Manually defrosting the freezer (unplug, empty, let it thaw for 24–48 hours with towels on the floor) will restore cooling temporarily if the defrost system is the culprit. That is a stopgap, not a cure. If the freezer ices back up within one to two weeks, the defrost heater, thermistor, or timer needs replacement. In that case, the deeper issue is usually the defrost system itself, and the repair becomes an intermediate-skill job that requires access to the evaporator coil area, a multimeter to test components, and the correct part by model number.
Watch Out: If you unplug the fridge to defrost and the ice comes back within days, do not keep cycling through manual defrosts. Each freeze-thaw cycle without fixing the root cause risks water damage from overflow and accelerates wear on the compressor.
Start relay, overload protector, and compressor clicking
Repeated clicking from the back of the refrigerator is the symptom that most warrants urgent attention — and possibly emergency appliance repair service.
GE Appliances explains it directly: "The low-grade hum and occasional clicking of a refrigerator is regular background noise in your home." The important part is whether the clicking becomes repetitive and the interior warms up.
Here is what that means in plain terms: the start relay is a small, inexpensive component (often $10–$50 in parts) that gives the compressor the electrical kick it needs to start each cooling cycle. When the relay fails, the compressor tries to start, can't, trips the overload protector, shuts down, and tries again — click, pause, click, pause, every two to five minutes. The fans keep running, so the unit sounds almost normal, but no refrigerant is being pumped and temperatures climb steadily.
Clicking-sound decision tree:
[Image: Clicking-sound decision tree — start relay, overload, compressor failure branches]
- Click once when the fridge first turns on, then normal hum: Normal compressor start — not a problem.
- Click from the rear + fans audible + warm interior: Start relay failing. This is the most likely and most fixable scenario — a start relay for most Whirlpool, GE, LG, or Samsung models costs $10–$50 at AppliancePartsPros or RepairClinic. Intermediate DIY skill.
- Repeated clicking every 2–5 min, compressor hot to the touch: Compressor overheating and tripping the overload protector. Could be a dirty coil issue driving up head pressure, or the compressor itself beginning to fail. Clean coils first; if clicking persists, call a tech.
- Repeated clicking from rear + clicking identified as control board area: GE Appliances recommends professional board replacement for rear-origin clicking that points to the control board. This is not a homeowner fix.
When to Call a Pro: If clicking repeats more than three times per hour, the interior temperature is above 40°F, and coil cleaning did not stop the cycling, book a refrigerator repair technician the same day. Compressor repair runs $250–$650; if the compressor needs full replacement on a refrigerator over eight years old, compare that cost against a new unit before authorizing the repair.
Safe homeowner checks before you call for refrigerator repair
Before spending $100–$150 on a refrigerator repair service call, spend 10–15 minutes on these checks. A meaningful percentage of "noisy and warm" calls turn out to be settings, door seals, or coils — all fixable for free.
Food safety note: the CDC advises that "if the power is out for less than 4 hours, then the food in your refrigerator and freezer will be safe to consume." If your fridge has been warm for longer than four hours, move perishables to a cooler with ice or a neighbor's fridge before troubleshooting, and discard anything that has been above 40°F for more than two hours.
Check the temperature settings, door seals, and airflow gaps
Work through these five checks in order. Each takes two to three minutes.
-
Confirm the temperature settings (2 min). The CDC recommends 40°F or lower for the refrigerator section and 0°F or lower for the freezer. If someone recently adjusted the controls — kids reaching the panel, a power blip resetting the display — the thermostat may be set too warm. On digital models, confirm the display matches your target. On dial models, turn the dial one position colder and wait two hours before drawing conclusions.
-
Check that the fridge is plugged in securely and the circuit breaker hasn't tripped (1 min). Obvious, but worth confirming before any further diagnosis.
-
Test the door gaskets (3 min). Close the door on a dollar bill at the hinge side, midpoint, and latch side. If you can pull the bill out without resistance, the gasket is not sealing. A failed gasket lets warm, humid air in constantly, makes the compressor run longer, and raises interior temps. Replacement gaskets for most brands cost $20–$60 and are model-specific.
-
Check clearance around the unit (2 min). Most manufacturers require at least 1 inch of clearance on the sides and back for heat dissipation. A refrigerator pushed tight against a wall or cabinets on three sides will run hotter and louder.
-
Look at the freezer vents for ice blockage (2 min). Inside the freezer, there should be visible air vents on the back or side walls. If they are covered in frost or ice, airflow to the fresh-food section is restricted.
Listen for the fan and compressor from the back and inside the freezer
This two-minute sound-location test takes the guesswork out of whether you're dealing with a fan problem or a compressor problem.
From the back of the unit (unplug first, wait 30 seconds, replug): Listen immediately after the compressor starts its cycle. You should hear a low hum from the compressor and a faint whirring from the condenser fan motor. Loud buzzing, grinding, or clicking from the back lower panel points to the condenser fan, start relay, or compressor — not the evaporator fan.
From inside the freezer: Open the freezer door and press the door switch manually to keep the light off and the fan running. A grinding or scraping sound from behind the rear freezer panel is the evaporator fan. A buzzing that gets louder when the freezer door is open points to the evaporator fan motor bearing failing.
GE's guidance is useful here: if the fans are audible and running normally but clicking persists from the back, the compressor is the component failing to start, not the fans. That distinction tells you whether you have a $50 fix (start relay) or a $250–$650 repair (compressor).
Watch Out: Do not remove the rear lower access panel or the freezer back panel while the unit is plugged in. Condenser fan blades and exposed electrical terminals are behind both panels. Always unplug before removing any panel, even just to peek.
Clean condenser coils and clear blocked vents safely
If the sound-location check points toward the back lower panel and coils are visibly dusty, clean them before calling anyone.
Tools and supplies: - Refrigerator coil cleaning brush (around $10–$15; Holikme and BrushTech make widely available options) - Vacuum with a crevice tool and soft brush attachment - Flashlight - Old towels or newspapers for floor protection
Steps: 1. Unplug the refrigerator and pull it out from the wall. 2. Remove the cardboard or thin metal access panel on the back lower section (usually held by two or three Phillips screws). 3. Use the brush to loosen lint and dust from the coil fins, working along the fins rather than across them to avoid bending them. 4. Follow immediately with the vacuum to remove dislodged debris. 5. While the panel is off, clear any blocked air vents you can see — a thin stick or the crevice tool works. 6. Reassemble, push back, plug in.
The DOE's guidance confirms coil cleaning is standard, safe homeowner maintenance. The 35% energy penalty from dirty coils means this task pays back immediately in lower utility costs even before you factor in the cooling improvement.
Pro Tip: On bottom-freezer and French door refrigerators, the coils are typically underneath, accessible by removing the toe-kick grille at floor level. Pull the grille straight out — no screws on most models. Use the same brush-and-vacuum method.
When the refrigerator compressor or sealed system is the problem
Once you have ruled out fans, coils, defrost failure, and door seals, you are likely looking at the compressor or the sealed refrigerant system. This is where the cost and complexity step up sharply, and where professional appliance repair service becomes the correct answer rather than a fallback.
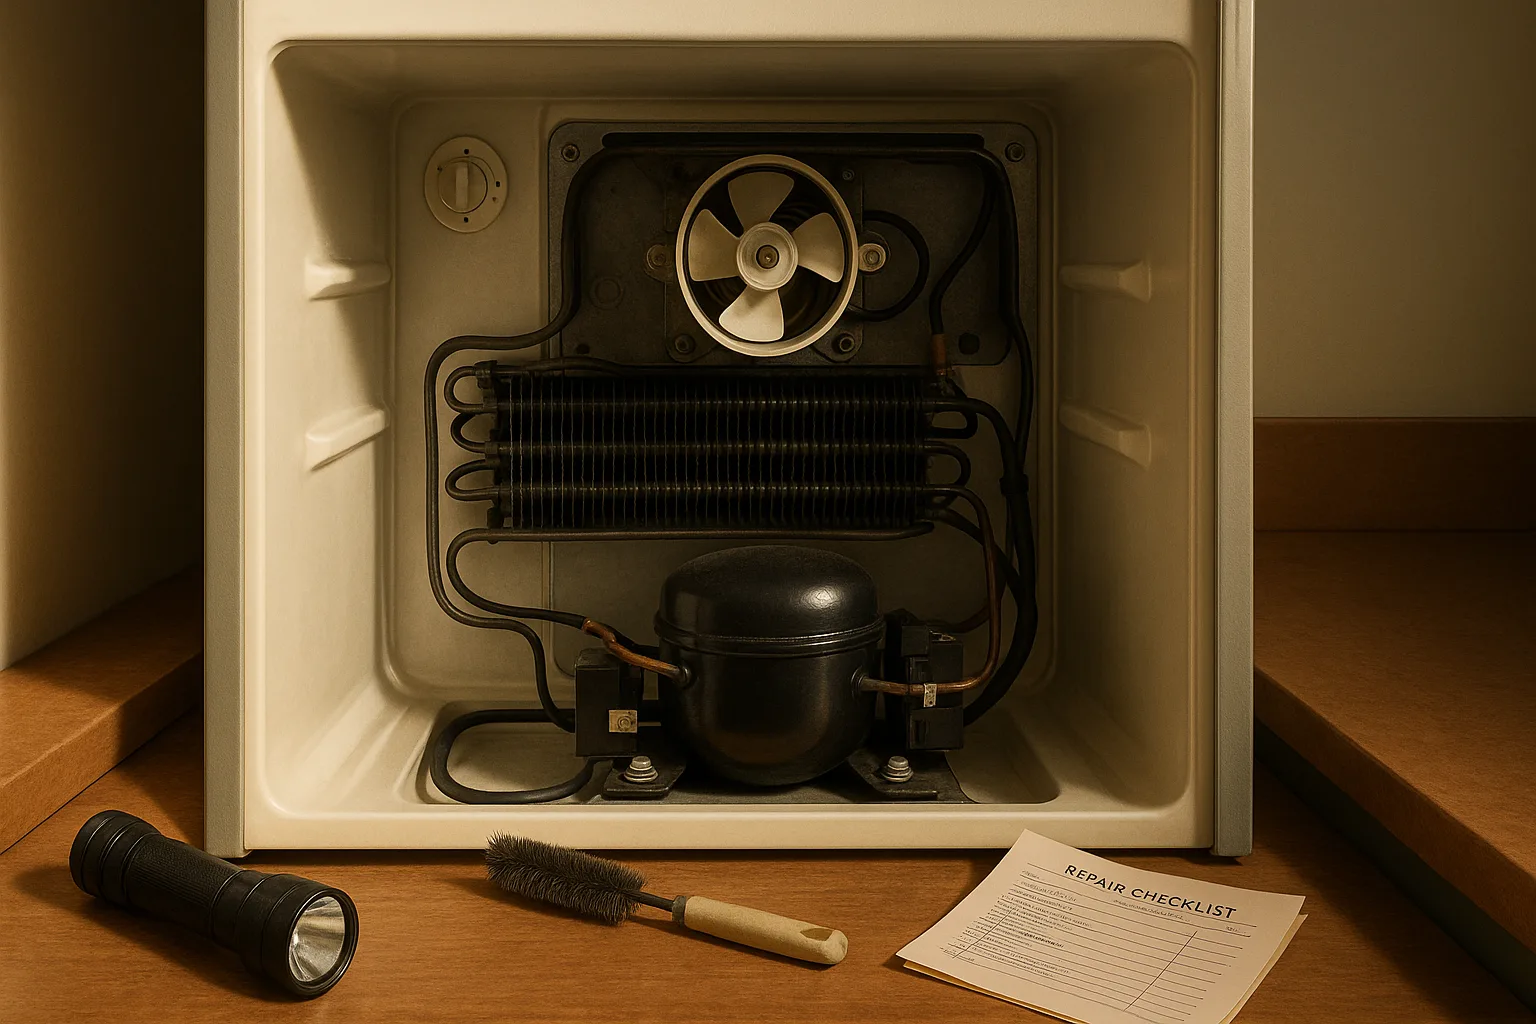
The compressor is the heart of the sealed system — it compresses refrigerant gas, raising its temperature and pressure, so that it can release heat through the condenser coils and then cool down as it expands through the evaporator coils. The sealed system also includes the refrigerant lines, condenser coils, evaporator coils, and the metering device (expansion valve or capillary tube). None of these components can be opened, tested for refrigerant charge, or refilled without EPA-certified equipment and certification.
GE Appliances' troubleshooting guide states directly: "If you hear a loud click, then hear the fans start, the click is likely the compressor's start relay." That is the diagnostic hook. Fans running + clicking from rear + warm interior = compressor not completing its start cycle. The cause is either the start relay/overload (inexpensive, sometimes DIY) or the compressor itself (professional-only, $250–$650 in repair costs according to HomeAdvisor).
If a refrigerant leak is the culprit — a separate failure mode — the refrigerator typically runs almost constantly, the cabinet never gets fully cold, and you may notice the compressor and lines feel unusually warm. HomeAdvisor puts refrigerant leak repair at $150–$400, tied to finding and sealing the leak in the sealed unit and recharging the system. This requires emergency appliance repair service from a certified technician — there is no homeowner path here.
Signs the compressor is overheating or failing to start
The three compressor-trouble patterns to know:
| Pattern | What you hear | What you feel | What it likely means |
|---|---|---|---|
| Running nonstop | Constant low hum, no clicks | Cabinet barely cool | Refrigerant low, sealed-system leak, or condenser coils very dirty |
| Short cycling | Starts, hums 1–3 min, stops, restarts | Compressor hot to touch | Overload protector tripping due to overheating; dirty coils or failing compressor |
| Repeated clicking | Click every 2–5 min, no sustained hum | Interior warming steadily | Start relay or overload failing; compressor can't complete start |
GE Appliances identifies repeated clicking as potentially indicating compressor overheating/shutoff, condenser fan problems, or control-board issues, and treats rear-origin clicking as a professional-service indicator. Compressor repair costs $250–$650 on average, making the age of the refrigerator a real factor: paying $400 to fix a 12-year-old fridge when the average unit lasts 10–18 years is a harder financial case than fixing a 3-year-old model.
Cost Snapshot: Compressor repair: $250–$650. Start relay part only: $10–$50. Refrigerant leak repair: $150–$400. Full refrigerator replacement: $800–$2,500+ for a standard top-freezer or French door model.
Why sealed-system issues are not a DIY repair
The sealed system — compressor, condenser, evaporator, refrigerant lines, and metering device — is a closed loop pressurized with refrigerant. In most residential refrigerators, that refrigerant is R-134a or, in newer ENERGY STAR-certified models, R-600a (isobutane) or R-290 (propane-based), which are mildly flammable and require specific handling protocols.
Watch Out: Federal law (EPA Section 608) prohibits knowingly venting refrigerants into the atmosphere. You cannot legally purchase refrigerant for sealed-system work without EPA 608 certification. Any repair involving the refrigerant circuit is a technician-only job — full stop.
Even setting aside the legal constraint, the practical reality is that finding a refrigerant leak requires specialized leak-detection equipment, and recharging the system to the correct pressure requires certified recovery and charging equipment. HomeAdvisor reports refrigerant leak repair at $150–$400 — that range reflects technician time, refrigerant cost, and equipment use. There is no DIY workaround.
DIY versus repair tech: where the line is for a noisy fridge
The decision comes down to what part is failing. An appliance repair service call costs roughly $75–$150 just to diagnose, before parts and labor. If the fix is a $12 start relay you can swap in 20 minutes, the service call cost is the expensive part. If the fix requires compressor replacement or refrigerant work, the technician is both legally required and practically necessary.
Here is where the line sits for a refrigerator repair decision:
| Cause | Skill level needed | Time estimate | DIY or Pro? |
|---|---|---|---|
| Dirty condenser coils | Beginner | 15–20 min | DIY |
| Door gasket replacement | Beginner | 20–30 min | DIY |
| Temperature setting adjustment | None | 2 min | DIY |
| Defrost manual reset / thaw | Beginner | 24–48 hr passive | DIY (temporary) |
| Start relay replacement | Intermediate | 20–30 min | DIY if comfortable with appliance parts |
| Evaporator fan motor | Intermediate | 45–60 min | DIY or Pro |
| Defrost heater/thermistor | Intermediate | 60–90 min + testing | Pro recommended |
| Control board | Advanced | 30–60 min | Pro |
| Compressor | Advanced + certification | 2–4 hr | Pro only |
| Refrigerant leak / sealed system | Certified tech only | Varies | Pro only |
DIY-friendly fixes that usually take 10 to 30 minutes
These four repairs are low-risk and use tools most homeowners already own:
- Coil cleaning: Unplug, access rear or bottom coils, brush and vacuum. Tools: coil brush, vacuum, flashlight. Parts cost: $0.
- Door gasket replacement: Order by model number (check the label inside the door frame), peel old gasket, press new one into the channel. Tools: flathead screwdriver (sometimes none). Parts cost: $20–$60.
- Start relay replacement: Unplug, access the compressor compartment from the back lower panel, pull the relay off the compressor terminal, shake it (a rattle means it's failed), press the new one on. Tools: nut driver, ¼-inch bit. Parts cost: $10–$50. Brands like Whirlpool, GE, LG, and Samsung all have model-specific relays available at AppliancePartsPros and RepairClinic — search your model number, which is printed on the label inside the fresh-food door frame.
- Leveling adjustment: If the fridge is not level side-to-side, the door may not seal properly. Adjust the front leveling feet with a wrench. Tools: adjustable wrench, level. Parts cost: $0.
Red flags that mean stop and book emergency appliance repair
Stop troubleshooting and book emergency appliance repair service if you observe any of these:
- Burning smell from the back of the unit or near the compressor — potential electrical failure or overheating wiring
- Compressor case hot enough to be uncomfortable to touch — overload protector is tripping repeatedly, risk of further damage
- Repeated clicking more than three times per hour combined with a warm interior — start relay or compressor failure is active; food safety countdown has started
- Warm freezer and warm refrigerator simultaneously — the sealed system has failed or the compressor is not running at all
- Interior temperature above 40°F for more than two hours — per the CDC, perishable food safety is now at risk; relocate food before you do anything else
- Visible frost on the outside of refrigerant lines (the copper or aluminum lines behind the unit) combined with poor cooling — refrigerant pressure issue, technician-only
- Any visible sparking, tripped GFCI, or tripped breaker associated with the refrigerator — electrical safety issue before a cooling issue; unplug immediately and call a tech
GE Appliances is explicit: when clicking comes from the rear and points to the control board or compressor, professional service is the correct next step, not further homeowner diagnosis.
Tools, parts, and safety checklist for refrigerator troubleshooting
A good refrigerator repair starts with having the right tools ready before you pull the fridge away from the wall — and knowing what to leave alone.
Safety checklist before any inspection: - [ ] Unplug the refrigerator from the wall outlet - [ ] Move the unit away from the wall on a piece of cardboard or appliance slider to protect the floor - [ ] Have a flashlight independent of your phone (you need both hands free) - [ ] Wear closed-toe shoes — evaporator ice can fall during defrost - [ ] Do not touch refrigerant lines or attempt to open any sealed fittings
Basic tools for safe inspection and cleaning
Keep the first-pass toolkit compact: a flashlight, a vacuum with brush attachment, a multimeter, and a nut driver cover most of the safe diagnostic work. Add a coil brush and a flathead screwdriver if you plan to clean or replace common parts.
- Flashlight (a compact LED like the Streamlight Stylus Pro, around $20) — essential for reading the model label, inspecting coils, and seeing inside the compressor compartment
- Vacuum with crevice tool and soft brush attachment — for coil cleaning; any standard shop vac works
- Refrigerator coil cleaning brush ($10–$15) — the long, flexible brush is the only tool that gets into the full depth of underslung coil fins
- Multimeter (Klein Tools MM300 or similar, around $25–$35) — for testing the start relay, overload protector, and defrost heater continuity if you're going beyond the visual inspection
- ¼-inch nut driver or socket set — for removing the rear access panel and compressor cover
- Flathead screwdriver — for door gasket removal and some panel clips
Common replacement parts a tech may diagnose first
When a technician arrives for a noise-and-no-cooling complaint, these are the components they will test in order of likelihood and ease of access:
- Start relay — a small plug-in component on the compressor terminal; AppliancePartsPros stocks model-specific start relay assemblies for Whirlpool, GE, LG, Samsung, Frigidaire, Kenmore, and Electrolux. Cost: $10–$50.
- Overload protector — often sold bundled with the start relay as a start-device kit. Protects the compressor from overcurrent; fails separately from the relay.
- Start capacitor — on some models, assists the relay in starting the compressor motor; typically part of the same start-device assembly.
- Evaporator fan motor — accessed from behind the freezer back panel; model-specific, typically $40–$100 in parts.
- Condenser fan motor — accessed from the rear lower panel; model-specific, typically $40–$90 in parts.
- Control board — the electronic brain that can cause erratic cycling, clicking, or failed compressor starts when other components test good.
For any part purchase, use your model number (on the label inside the fresh-food compartment door frame, format varies by brand) to get the exact correct part. Generic substitutes for start relays in particular can cause short cycling or compressor damage.
FAQ about refrigerators making loud noises and not cooling
Why is my refrigerator making a loud humming noise and not cooling?
Loud humming combined with poor cooling is almost always a fan or coil problem. The most likely culprit is a dirty condenser coil forcing the condenser fan and compressor to work harder than designed — which raises the noise level and reduces cooling efficiency. Clean the condenser coils first. If the loud hum comes from inside the freezer rather than from the back, the evaporator fan motor is likely failing or its blade is hitting frost buildup. The U.S. DOE documents that dirty coils can increase energy cost by as much as 35% and prevent proper cooling, making coil cleaning the correct first response to this symptom.
What does a clicking refrigerator compressor mean?
Repeated clicking from the back of the refrigerator — especially when it occurs every two to five minutes and the interior is warming up — means the compressor is failing to start its cooling cycle. The start relay is the most common cause: it gives the compressor the electrical surge it needs to start, and when it fails, the compressor tries and fails repeatedly. A failed start relay costs $10–$50 and is an intermediate DIY repair. If replacing the relay does not stop the clicking, the compressor itself or the control board is the issue, and a professional appliance repair service is the correct next step.
Can a refrigerator fan make a loud noise and stop cooling?
Yes — and this is one of the most commonly misdiagnosed situations. The evaporator fan inside the freezer compartment is responsible for circulating cold air into both the freezer and the fresh-food section. When that fan motor fails or its blade hits frost buildup, you hear grinding or loud buzzing from inside the freezer, and the fresh-food compartment warms up while the freezer may stay reasonably cold. The condenser fan on the back lower panel can also cause loud noise and reduced cooling when it fails or its guard becomes clogged — in that case, the compressor overheats and cooling efficiency drops sharply.
When should I call a repair tech for a noisy refrigerator?
Call a refrigerator repair technician when: the clicking is repeated and rhythmic (every two to five minutes) and the interior is warming; cleaning the condenser coils did not reduce the noise or restore cooling; the compressor is hot to the touch; you smell burning near the back of the unit; or the freezer and refrigerator sections are both above their target temperatures. The CDC's food-safety threshold of four hours above 40°F is your urgency benchmark: if perishables are at risk, book same-day emergency appliance repair rather than continuing to troubleshoot. Any repair involving the compressor ($250–$650) or the refrigerant sealed system ($150–$400) is technician-only by law and by practical necessity.
Sources & References
- GE Appliances — Why Is My Refrigerator Making Noise? — Official GE troubleshooting guidance on refrigerator noise types and causes
- GE Appliances — Why Does My Fridge Keep Clicking On and Off? — GE explanation of start relay and compressor clicking
- GE Appliances — Refrigerator Troubleshooting Guide — Comprehensive fault-to-component mapping from GE
- Whirlpool — Clicking Noise, Top Freezer Refrigerator — Whirlpool guidance on normal vs. abnormal clicking, including dual evaporator valve
- Whirlpool — Not Cooling, Freezer Section, French Door Refrigerator — Whirlpool's not-cooling diagnostic sequence for bottom-freezer models
- U.S. Department of Energy — Purchasing and Maintaining Refrigerators and Freezers — DOE documentation of dirty-coil energy penalty and maintenance recommendations
- U.S. Department of Energy — DIY Energy Savers: Cleaning Refrigerator Coils — Official DOE coil-cleaning guidance
- CDC — Food Safety After a Power Outage — Four-hour food-safety threshold and temperature guidance
- CDC — Food Safety — 40°F refrigerator and 0°F freezer recommendations
- HomeAdvisor — Refrigerator Repair Cost Guide (2025) — Average refrigerator repair cost: $650, range $200–$1,300
- HomeAdvisor — Refrigeration System Repair Costs — Compressor repair ($250–$650), refrigerant leak repair ($150–$400), evaporator coil replacement ($200–$300)
- AppliancePartsPros — Whirlpool Refrigerator Start Relay / Overload / Start Device — Start relay and overload protector part reference for Whirlpool models
- Reddit r/fixit — Refrigerator Compressor Making a Weird Sound — Community discussion referenced in Research Brief
Keywords: evaporator fan motor, condenser fan motor, compressor, start relay, overload protector, start capacitor, defrost system, thermistor, control board, condenser coils, sealed system, ENERGY STAR, UL Listed, US Department of Energy