How to change a furnace filter and clean an AC condensate drain line safely
A clogged furnace filter or blocked AC condensate drain line can shut your cooling system down completely — and both problems are usually fixable with a replacement filter, a shop vac, and a bucket. If your AC stopped blowing cold air this week or you noticed water pooling near your indoor unit, start here before calling a technician.
At a Glance: - Time: 30–60 minutes for both tasks combined - Skill level: Beginner — no HVAC training required - Cost: $5–$30 for a replacement furnace filter; optional $8–$15 for a condensate cleaner tablet - Tools: Replacement filter (correct size), shop vac or wet/dry vacuum, flashlight, gloves, towel, bucket - Safety first: Turn off power to the furnace or air handler at the service switch or breaker before opening any access panel or touching the drain line. Carrier’s drain-line safety guidance says to power off before opening the unit.
This guide does what most competitors don't: it combines the two most common summer HVAC maintenance tasks into one sequence, explains exactly how each failure shows up in your home, and tells you clearly when to stop and call a pro.
ENERGY STAR recommends checking air filters every month during heavy-use months and cleaning or replacing them at minimum every 3 months, so the filter side of this job is the one to stay on top of all season.
Signs a dirty furnace filter or clogged condensate drain is causing AC problems
A clogged condensate drain line is one of the most frequent reasons an AC unit leaks water, according to Carrier's AC troubleshooting guidance. A dirty filter, meanwhile, restricts airflow and can reduce humidity-removal performance, which forces the system to overwork — and that can cause the evaporator coil to freeze and eventually generate water problems of its own. The two faults can feed each other, which is why fixing one and ignoring the other often leads to a repeat service call.
Use this symptom checklist to figure out which problem — or both — you're dealing with:
Dirty filter symptoms: - Weak or sluggish airflow from supply vents - Warm air blowing even when the thermostat calls for cooling - System short-cycling (turning on and off rapidly) - Unusually high energy bills during peak cooling season - Visible gray or brown buildup when you pull the filter out
Drain clog symptoms: - Standing water around the base of the furnace or air handler - The system shuts off entirely and won't restart (float switch trip) - Musty or moldy smell from supply vents - Water stains on the ceiling or wall near the indoor unit - Condensate pan is visibly full of murky water
Watch Out: Water around your furnace in July is not normal. It almost always points to a blocked condensate drain, a frozen evaporator coil, or a cracked condensate pan. Don't ignore it — even a slow drip can rot a subfloor or ceiling within days.
Dirty filter symptoms: weak airflow, warm supply air, and short cycling
A dirty furnace filter is the leading cause of restricted airflow in residential HVAC systems. As the filter loads up with dust, pet hair, and debris, the air handler has to work harder to pull air through it — and at some point it can't keep up.
As ENERGY STAR explains, "a dirty air filter will slow down air flow and make the system work harder to keep you cool — wasting energy." In practice, that shows up as vents that feel barely warm to your hand instead of delivering a strong, cool blast, or a thermostat that keeps running and running without the house reaching setpoint.
Use this quick mapping to decide if the filter is your first fix:
| Symptom | Most likely cause | First step |
|---|---|---|
| Weak airflow at all vents | Dirty or collapsed filter | Replace the filter |
| Warm air, system running constantly | Restricted airflow or frozen coil | Replace filter; check coil for ice |
| Short cycling (on/off every few minutes) | Restricted airflow, possible overheating | Replace filter; call pro if it continues |
| One vent weak, others normal | Duct blockage or damper issue | Skip to a pro call |
Clogged drain symptoms: water near the furnace, float switch shutdown, and musty odor
In summer, your AC pulls humidity out of indoor air. That moisture drips off the evaporator coil, collects in the condensate pan below it, and drains out through a PVC pipe — the condensate drain line — to a floor drain, utility sink, or outside termination. When algae, mold, or debris blocks that line, water backs up, overflows the pan, and ends up on your floor.
Carrier's documentation confirms that a blocked condensate drain can cause water to overflow into the home and may trigger a float switch that shuts the entire system down. If your AC suddenly won't come on and you see water near the unit, that float switch is the likely culprit — it's a small safety sensor designed to prevent flooding by cutting power when the pan fills up.
The musty smell comes from algae and mold growing in the standing water inside the pan or line itself.
When to Call a Pro: Don't attempt DIY drain clearing if you see any of these: recurring water after you've already cleared the drain, a visible crack in the condensate pan, ice on the refrigerant lines or evaporator coil, a persistent mold smell that doesn't clear after flushing, or a float switch that trips again within 24 hours of resetting. These signals point past a simple clog.
Tools and supplies for filter replacement and condensate drain cleaning
Pull these together before you start. Mid-task trips to the hardware store waste time and leave the unit sitting open.
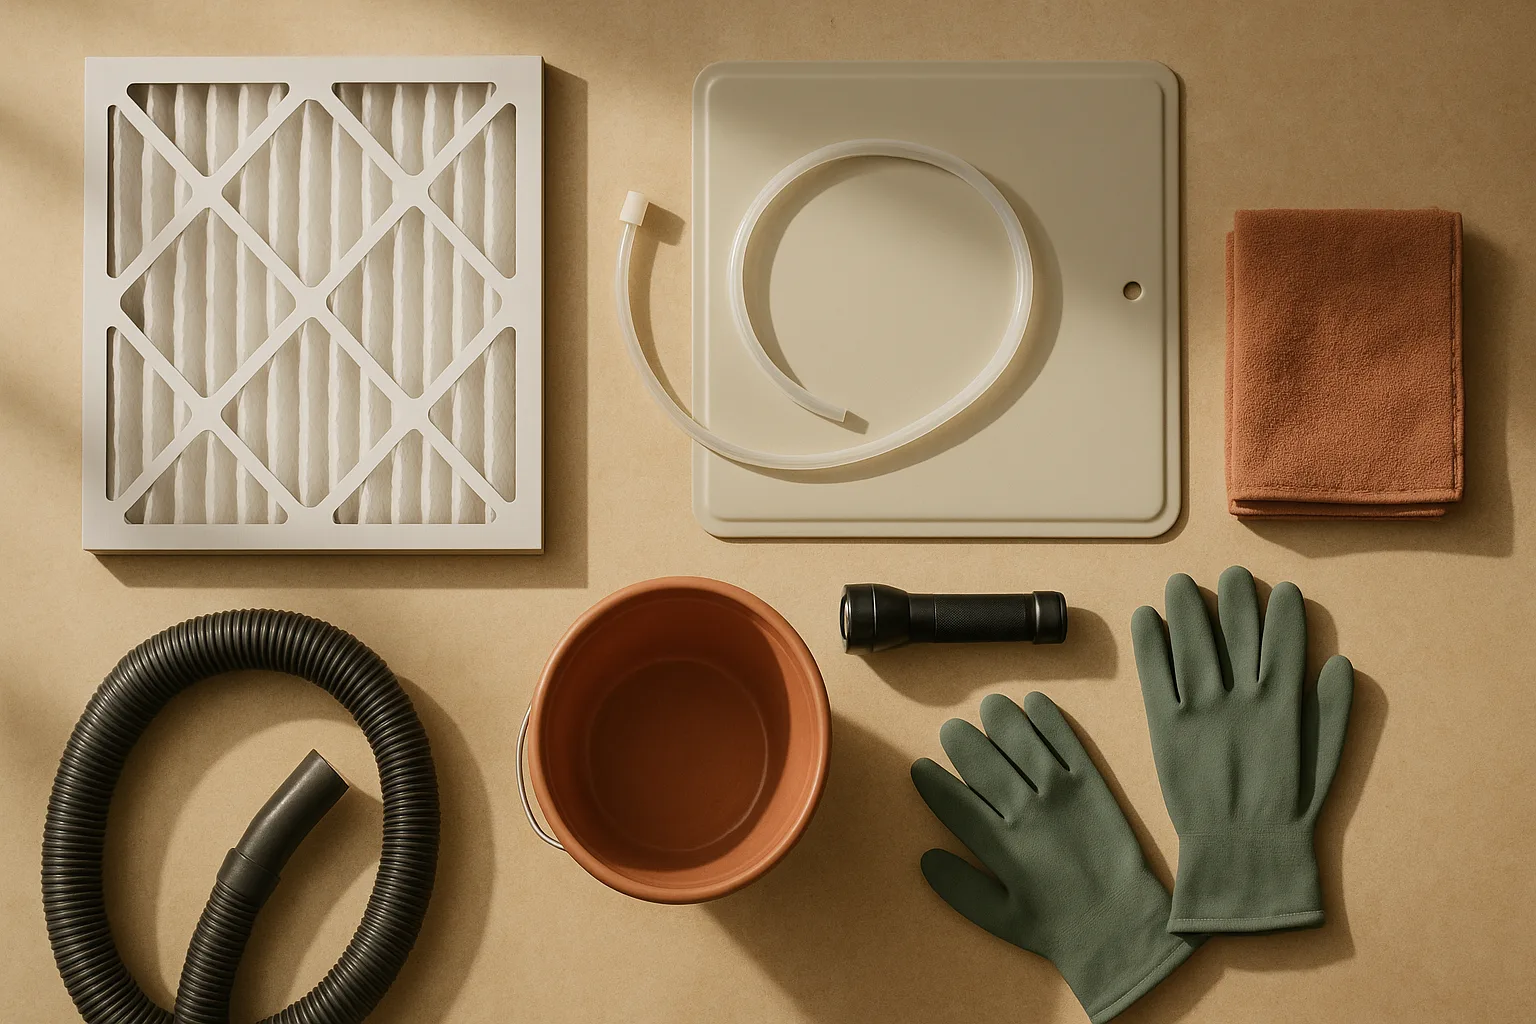
For the furnace filter replacement: - Replacement furnace filter (correct size — read below before buying) - Flashlight (to see the filter slot and airflow arrow clearly) - A plastic bag or trash bag (to seal and dispose of the old filter without spreading dust) - Gloves (optional but worthwhile — old filters are grimy)
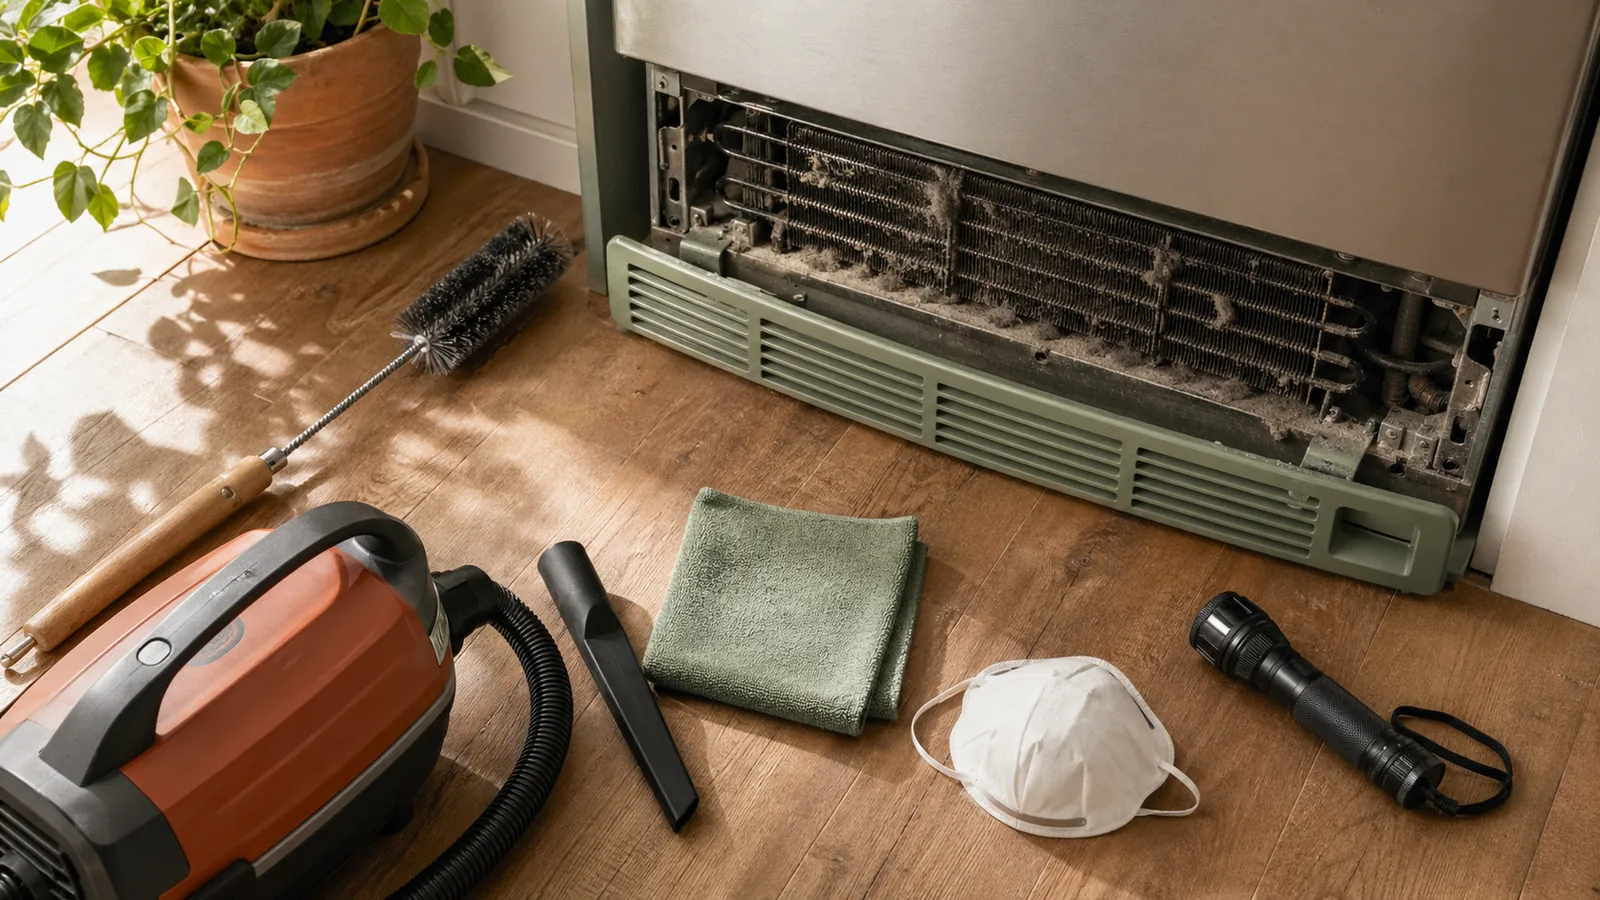
For the condensate drain cleaning: - Shop vac or wet/dry vacuum with a hose attachment (standard 1¼-inch or 2½-inch hose works for most drain line diameters) - Bucket and old towels (for water in the condensate pan) - Flashlight - Gloves - Condensate drain cleaner tablet or pan treatment (optional; products like Nu-Calgon Evap Foam No Rinse or RectorSeal No. 2 condensate pan tablets help prevent algae regrowth — find them at HVAC supply houses or Home Depot for around $8–$15) - Water in a pitcher or cup (for flushing the line after vacuuming)
Per Carrier's drain-line guidance, the shop vacuum or wet vac is the primary clearing tool that even HVAC technicians use. You don't need a drain snake or specialty HVAC tools for a standard residential clog.
ENERGY STAR recommends checking your filter every month during heavy-use months, so if you haven't bought filters in bulk yet, this is a good time: buying a 4-pack in the correct size costs less per filter than single units and means you're ready for the next change without a store run.
How to find the correct furnace filter size on the old frame
The size is printed directly on the cardboard or plastic frame of your existing filter. Look for three numbers in a format like 20x25x1 or 16x25x4 — those are width × height × depth in inches. Note all three numbers before you throw the old filter away.
A few things to know: - Nominal size vs. actual size: Filter packaging uses nominal (rounded) dimensions, not exact measurements. A filter labeled 20x25x1 actually measures closer to 19.75 × 24.75 × 0.75 inches. Buy by the nominal label, not your tape measure. - If the frame is unreadable: Measure the slot in the air handler cabinet or return-air duct opening with a tape measure and round each dimension up to the nearest inch to get the nominal size. - If the size is in the system manual: Trane recommends referring to your system's user manual or dealer because the HVAC unit is designed for a specific filter type. Check the manual if you're unsure whether a 1-inch or 4-inch filter is correct for your system.
Pro Tip: Take a phone photo of the printed size on the old filter before you seal it in the trash bag. You'll have the exact reference on your phone for every future purchase.
ENERGY STAR also notes that some filters are located in the duct system rather than inside the air handler itself — if you don't see a filter slot at the unit, check the large return-air grille on a wall or ceiling.
Which filter rating to buy for a typical US home HVAC system
MERV stands for Minimum Efficiency Reporting Value — it's a standard scale (1 to 16 for residential use) that measures how effectively a filter captures particles. Higher MERV = finer filtration, but also more airflow resistance.
Trane's filter guidance says most homes are best served by a filter with a MERV rating of 8 to 13. A MERV 8 pleated filter catches dust, mold spores, and most pet dander. A MERV 11 or 13 adds finer particulates and allergens.
The catch, as Trane explicitly states: "Not all HVAC systems can accommodate high MERV filters because of the pressure drop they can cause in the air pressure/airflow in your HVAC system." Older systems or those with undersized return ducts are most susceptible. If you upgrade to a MERV 13 filter and airflow suddenly feels weaker, step back down to MERV 8 or 11.
For most single-family homes with a standard air handler: - MERV 8 pleated: Best balance of filtration and airflow — good for most households - MERV 11 pleated: Good for homes with pets or mild allergies - MERV 13 pleated: Best for allergy sufferers — but verify your system can handle it; check the unit manual or ask your HVAC dealer
Avoid fiberglass flat panel filters (MERV 1–4). They protect the blower motor but do almost nothing for air quality.
How to change a furnace filter step by step
Filter replacement is a 10-minute task once you've done it once. The entire sequence below — from power-off to airflow check — takes most homeowners under 15 minutes.
ENERGY STAR recommends cleaning or replacing the filter at least every 3 months, and checking it monthly during heavy-use summer and winter months. If you're in the middle of a heat wave and haven't touched the filter since spring, do this now.
Step 1: Turn off power to the furnace or air handler
Find the service disconnect switch — a standard electrical switch in a metal box, usually mounted on the wall within a few feet of the furnace or air handler. Flip it to OFF. If you can't locate a dedicated switch, turn off the breaker for the air handler in your home's main electrical panel.
Do not skip this step. The blower can start automatically once the door is removed on some systems.
Watch Out: Never change the filter with the system powered on. The blower motor can draw the old filter (or your hand) into the housing the moment the access door is removed on certain cabinet designs.
Carrier's drain-line safety guidance applies equally here: turn off the unit before you open anything.
Step 2: Remove the old filter and read the size on the frame
Open the filter access panel on the air handler or furnace cabinet. It's typically a metal door or a pull-off slot cover — no tools required on most units. Slide the old filter straight out.
Before the filter goes in the trash bag: 1. Read the printed size on the frame and confirm it matches what you bought 2. Note the airflow direction arrow printed on the frame (you'll need to orient the new filter the same way) 3. Look at how dirty the filter is — if it's completely gray or collapsed, it was well overdue
Seal the old filter in a plastic bag immediately to contain the trapped dust and debris. Take a photo of the printed size for your records.
Trane advises that HVAC systems are designed for a specific filter type, so if the old filter is a 4-inch deep filter, replace it with another 4-inch — don't substitute a 1-inch pleated even if it fits loosely in the slot.
Step 3: Install the new filter with the airflow arrow facing the blower
This is the most common installation mistake: the filter goes in backwards. Here's the rule:
The arrow on the filter frame must point toward the blower motor (away from the return air duct).
In a vertical air handler, the return air enters from below or from a side panel, and the blower pulls air upward. The arrow points up — toward the blower. In a horizontal unit in an attic or crawlspace, the return air enters from one end; the arrow points toward the blower compartment, not toward the return grille.
If you put the filter in backwards, the system still runs — but filtration efficiency drops significantly because the filter media is designed to capture particles on one specific face.
Slide the filter fully into the slot so no air can bypass around the edges. A gap at a corner will let unfiltered air reach the evaporator coil and accelerate fouling. Close and latch the access panel.
[Image: Diagram showing airflow arrow direction — return air side vs. blower side of the air handler]
Step 4: Restore power and verify airflow
Flip the service switch back to ON (or reset the breaker). Set the thermostat to COOL and drop the setpoint below room temperature so the system starts. Then do a quick check:
- Airflow: Walk to 2–3 supply vents and feel for a strong, consistent flow. It should be noticeably stronger than before if the filter was clogged.
- Sound: The blower should run smoothly without any rattling or sucking sounds, which can indicate the filter is loose or too restrictive.
- Fit: Confirm the access panel is fully closed and latched — a gap here causes air bypass and reduces system efficiency.
If the system runs and supply air feels cooler and stronger within a few minutes, the filter change was successful. If airflow is still weak or the system short-cycles, proceed to the drain-line cleaning and check for a frozen coil.
Pro Tip: ENERGY STAR's guidance that a clean filter restores airflow is the practical benchmark here — if you don't feel a difference, the filter wasn't the only problem.
How to clean an AC condensate drain line with a shop vac
As Carrier confirms, "after physically removing any visible debris from the AC drain or drain pipe opening, the most likely way the technician will clear the clogged drain is using suction from a shop vacuum or wet vac." This is exactly what you'll do — Carrier’s drain-line guidance shows the same clear-debris-first, vacuum, then flush sequence, with water used after vacuuming to finish the job.
The full sequence takes 20–30 minutes. Power must already be off from the filter-change step above, or shut it off now before touching anything near the air handler.
Locate the condensate drain line, trap, and cleanout port
The condensate drain line is a white PVC pipe — usually ¾-inch diameter — that exits the side or bottom of your air handler or furnace cabinet and runs toward a drain. Goodman's HVAC maintenance guidance places the drain line running from the indoor evaporator coil outward to the drain termination point, which may be a floor drain, a utility sink, a condensate pump, or an exterior wall exit point.
Here's what to find before you start:
- Condensate pan: The shallow drip tray directly under the evaporator coil inside the air handler. This is where water collects before draining out. If it's full, that's your confirmation the drain is blocked.
- P-trap: A curved section of PVC just below or beside the unit — looks like the trap under a kitchen sink. This is where most clogs accumulate.
- Cleanout port: A capped T-fitting or stub-out on the drain line, usually within a foot or two of the air handler, that you can open to access the line directly. Not all systems have a dedicated cleanout port; if yours doesn't, work from the exterior termination end.
[Image: Diagram showing condensate pan, P-trap, cleanout port, and exterior drain termination on a typical residential air handler]
Use your flashlight to trace the drain line from the air handler cabinet to where it exits the space. Note whether it runs to a floor drain, a utility sink, or through a wall to the exterior.
Vacuum the line from the cleanout or outside termination
With the power off and your bucket and towels in position under the pan:
- Remove standing water from the pan first. If the pan has an inch or more of standing water, use a wet/dry vacuum or a cup to remove it before it spills when you disturb the line.
- Open the cleanout port by unscrewing the cap (hand-tight — don't use pliers). If there's no cleanout, skip to the exterior termination.
- Remove any visible debris from the drain opening by hand (gloves on). Slime, algae mats, and gunk often sit right at the entrance to the P-trap and can be pulled out directly.
- Seal the shop vac hose to the cleanout port or the exterior pipe opening as tightly as possible. Hold it firmly against the pipe end, or wrap a rag around the hose-to-pipe junction to improve suction.
- Run the shop vac for 1–2 minutes without moving it. You'll often hear or feel the clog release — a gurgling sound as sludge pulls through the line.
- Check the shop vac canister. You should see dark, murky water and possibly algae sludge. If the canister is dry, the seal wasn't tight enough or the clog is further in.
Pro Tip: If you're working from the exterior termination, the exterior pipe end is typically at or near grade level on the outside wall near the air handler. Pressing the shop vac hose firmly against it and running it for 90 seconds often pulls the clog back toward you completely.
Flush the line with water or approved condensate cleaner
After vacuuming, flush the line to confirm it's clear and wash out any remaining residue.
- Pour 1–2 cups of water into the cleanout port or directly into the condensate pan. Watch the exterior termination — if water flows out within 30–60 seconds, the line is clear.
- Optionally add a condensate cleaner. Pan tablets like RectorSeal No. 2 or Nu-Calgon's slow-release tablets dissolve over time and inhibit algae regrowth — a practical way to extend time between clogs. Drop one tablet into the condensate pan after flushing (follow label dosing, typically one tablet per cooling season for average systems).
- Replace the cleanout cap and tighten hand-snug.
- Dry the pan and surrounding area with your towel. Check under the unit for any residual drips.
- Restore power and run the system for 10 minutes. Revisit the pan — it should remain dry and the exterior termination should drip condensate normally.
Watch Out: Improper drain work can cause water damage and may complicate a service warranty claim. Specifically: forcing water into a fully blocked line when the pan is already full will cause overflow onto the floor. Always remove standing water from the pan before flushing. And do not use harsh drain chemicals (bleach-based pipe cleaners, commercial drain openers) in condensate drain lines — they can damage PVC fittings, corrode the condensate pan, and void service agreements with some HVAC contractors. Carrier's guidance specifies flushing with water as the safe method after vacuuming.
When to call an HVAC pro for drain clogs or cooling shutdowns
DIY drain clearing solves the problem the first time in most households. But some situations require a licensed HVAC technician — and recognizing them early prevents a manageable issue from becoming a $1,500–$3,000 repair.
ENERGY STAR recommends annual pre-season checkups by a licensed contractor for all heating and cooling systems. That annual visit should include a condensate drain inspection — but between visits, you're on your own for these judgment calls.
When to Call a Pro: Contact an HVAC technician (not a handyman) if you see any of the following: - Water returns to the condensate pan or floor within 24–48 hours of clearing the drain - The float switch trips again after reset - Ice visible on the refrigerant lines or on the evaporator coil itself - A persistent musty or moldy smell from vents even after clearing the drain and flushing with cleaner - Water staining on walls or ceilings that suggests chronic overflow - The system has no cooling at all, even with a new filter and a clear drain line
Carrier's troubleshooting documentation explicitly connects persistent water leaks to frozen evaporator coils and damaged condensate pans — both of which are beyond homeowner DIY.
Red flags that suggest a frozen coil, cracked pan, or failed condensate pump
These three faults all cause water near the furnace and can mimic a simple drain clog, but each requires a different fix:
Frozen evaporator coil: - What you see: ice on the refrigerant lines or the coil itself, water pooling as the ice melts - Why it happens: severely restricted airflow (often from a badly clogged filter), low refrigerant, or a failed blower motor - DIY limit: Replace the filter and turn the system OFF (fan only mode) to let the coil thaw. If ice returns after thawing and running, the refrigerant level or blower is the issue — call a pro.
Cracked or damaged condensate pan: - What you see: water on the floor even when the drain line is clear - Why it happens: age, corrosion, or physical damage to the pan - DIY limit: Inspect the pan with a flashlight. If you see visible cracks, epoxy patching is a temporary fix at best. Carrier recommends professional inspection for a damaged pan; pan replacement typically requires accessing the evaporator coil assembly.
Failed condensate pump: - What you see: pan overflows, water on floor, but drain line is clear and pump is silent - Why it happens: the pump motor fails, the float switch inside the pump sticks, or the pump reservoir is full of sludge - DIY limit: Condensate pump replacement is a straightforward swap if you're comfortable with basic wiring — replacement pumps from Little Giant or Diversitech run $40–$90. If you're not comfortable with low-voltage wiring, call a pro.
How improper drain work can affect warranties and cause water damage
Here's the honest risk picture: no major manufacturer (Carrier, Goodman, Trane, Lennox) publishes specific warranty language that voids coverage for homeowner filter changes or drain clearing. But two real risks exist:
-
Water damage from DIY errors. Carrier's documentation states that clogged drain lines can overflow into the home and cause water damage. If you flush a fully blocked line without removing pan water first, or if you crack a PVC fitting by forcing a connection, the resulting water damage is your liability — not the equipment manufacturer's.
-
Service agreement complications. Many HVAC service contracts (not equipment warranties, but annual maintenance agreements with local contractors) include language that limits their liability if the homeowner has modified or damaged drainage components. If you strip a cleanout fitting or crack the PVC near the air handler, a contractor may charge for that repair separately from the covered maintenance visit.
The filter change carries no meaningful warranty risk. The drain clearing carries a small risk only if you use the wrong cleaning chemicals or force fittings. Stick to water flushing, hand-tightened caps, and a shop vac — and you'll stay on safe ground.
How often to check and replace a furnace filter in heavy-use season
ENERGY STAR's guidance is the clearest standard available from a credible government source: check your filter every month during heavy-use months, and replace or clean it at minimum every 3 months. Goodman adds that the actual replacement window is every 30–90 days depending on filter type, home usage, and your local climate.
The practical takeaway: "every 3 months" is the floor, not the goal. Checking monthly takes 90 seconds and gives you early warning before a filter gets so clogged it starves the system of airflow.
Filter-check intervals for summer cooling and winter heating
| Usage level | Check frequency | Replace when |
|---|---|---|
| Light (vacation home, rarely occupied) | Every 3 months | Filter is visibly gray or after 90 days |
| Average (occupied home, no pets) | Monthly in summer & winter | Every 60–90 days, or when visibly loaded |
| Heavy (pets, high dust, allergy household) | Every 2–3 weeks in summer | Every 30–45 days |
| MERV 13 in older system | Every 2 weeks | Every 30 days or at any sign of reduced airflow |
ENERGY STAR distinguishes between heavy-use periods in both winter heating season and summer cooling season — monthly checks apply to both. Mark a recurring reminder on your phone for the 1st of each month during June through August and December through February.
How regular HVAC maintenance helps prevent drain clogs and coil icing
The connection between filter care and drain management is direct: when a dirty filter restricts airflow, the evaporator coil gets too cold and can ice over. When that ice melts, it dumps far more water into the condensate pan than the drain line was designed to handle in a short period — which overwhelms the line and leads to overflow even if the line itself isn't technically clogged.
Goodman's maintenance resources list both air filters and condensate drains as part of routine HVAC maintenance, and ENERGY STAR's maintenance checklist confirms that annual contractor servicing combined with regular filter checks keeps systems at peak performance.
The practical cadence for a typical US home: - Monthly (June–August and December–February): Check and pull the filter; replace if visibly loaded - Every cooling season (April or May): Clear the condensate drain line proactively — even if it isn't clogged yet - Annually (before peak heating or cooling season): Schedule a professional tune-up that includes refrigerant check, coil cleaning, and drain line inspection
Doing the filter and drain line on the same day in April — before a single 90°F day hits — means you're not scrambling on the hottest week of the year.
Common mistakes when changing filters and clearing condensate drains
These are the errors that turn a 20-minute maintenance task into a service call.
- Wrong filter size: A filter that's too small leaves gaps around the edges where unfiltered air bypasses into the system. A filter that's too large won't seat in the slot. Always confirm the exact nominal size from the old frame before buying.
- Reversed airflow arrow: Installing the filter backwards reduces its filtration efficiency significantly and may cause uneven loading. Check the arrow every time.
- Skipping the power shutoff: Carrier's safety guidance is unambiguous — power off before you open anything. The blower can start unexpectedly.
- Forcing the drain without checking the pan: If the pan is already overflowing and you push more water into a blocked line, you make the leak worse. Remove standing pan water first.
- Using drain chemicals: Household drain openers (Drano, Liquid-Plumr) are formulated for metal plumbing. They can damage PVC condensate fittings and corrode aluminum condensate pans.
Using the wrong filter size or MERV rating
Grabbing a MERV 13 filter because "better filtration is always better" is the most common upgrade mistake. Trane's filter documentation is explicit: most homes work best with MERV 8 to 13, but not all HVAC systems can handle filters at the high end of that range due to pressure drop.
In practical terms: if you put a MERV 13 filter in an older system with a weaker blower motor, airflow drops. The evaporator coil gets starved and can ice over — the same problem a dirty filter causes, except now you've created it with a brand-new, expensive filter. If the system you're maintaining is more than 10–12 years old or has smaller return duct openings, stick with MERV 8 or 11 and check monthly instead of chasing higher MERV ratings.
Pro Tip: Trane recommends confirming filter compatibility in your system's user manual or with a Trane dealer before stepping up to MERV 13 or above. Many older systems ship with MERV 8 as the maximum rated filter.
Skipping the drain pan and trap inspection
Vacuuming the drain line is only half the job. If you pull the clog out with a shop vac but don't inspect the condensate pan and P-trap, you may miss standing sludge that will re-clog the line within a few weeks, or a cracked pan that will leak regardless of how clear the drain is.
Every time you clear the drain line: - Shine a flashlight into the condensate pan and wipe out any sludge with a rag - Check the pan for rust stains or visible cracks at the corners or seams - Verify the P-trap has water in it — a dry trap in humid climates can allow sewer gases to enter the system (uncommon but worth checking) - Look at the pan's slope: water should drain toward the drain opening, not pool at the far end (a sagging air handler can reverse the slope and cause chronic overflow)
Carrier's troubleshooting guidance confirms that persistent leaks can come from a damaged condensate pan, not just the drain line — clearing the line and skipping the pan inspection is how homeowners end up calling the same service call twice.
FAQ: furnace filter and AC condensate drain line maintenance
Can I use vinegar to clean an AC drain line?
The short answer: it's a commonly recommended DIY approach and it won't damage standard PVC drain lines, but it isn't the method major HVAC manufacturers specify. Carrier's official guidance specifies vacuuming the clog and flushing with water — not vinegar — as the standard procedure.
If you want to use distilled white vinegar as a preventive flush (½ cup poured into the cleanout port once a month during cooling season), it's unlikely to cause harm and may slow algae growth. But treat it as supplemental, not a substitute for shop-vac clearing when a real clog has formed. For preventive maintenance, purpose-made condensate pan tablets (RectorSeal No. 2, Nu-Calgon tablets) are specifically formulated for this application and are less acidic than vinegar — making them safer for aluminum condensate pans.
What if water is still around the furnace after cleaning the drain?
Stop DIY troubleshooting and call a licensed HVAC technician. Carrier's documentation identifies three causes of persistent water near the indoor unit that go beyond a drain clog: a frozen evaporator coil, a cracked condensate pan, and failed drainage components.
Before the technician arrives, do two things: turn the system off at the thermostat to prevent additional ice or overflow, and put down towels to protect the floor. Don't keep resetting the float switch and running the system — a pan that's overflowing repeatedly can saturate surrounding framing and insulation within hours.
Should I replace my furnace filter more often if I have pets or allergies?
Yes — and the monthly check-in ENERGY STAR recommends for heavy-use months becomes a true monthly replacement in most pet households. Pet hair and dander load a MERV 8 or 11 filter much faster than household dust alone. A home with two shedding dogs in Phoenix running the AC 16 hours a day in August can load a 1-inch filter in 3–4 weeks.
Goodman notes that replacement frequency depends on where you live and how often the AC operates — which is exactly why there's no universal "change it every 30 days" rule. Pull the filter out and look at it. If it's noticeably gray and you can't see light through it when held up, replace it regardless of how long it's been in.
For allergy households, MERV 11 is the practical minimum. MERV 13 is worth the airflow check (see above), but the more important variable is frequency: a clean MERV 8 filter beats a clogged MERV 13 every time.
Sources & References
- ENERGY STAR — Keep Your Cool and Save Money This Summer — Monthly filter check guidance for heavy-use cooling months
- ENERGY STAR — Heating and Cooling Maintenance Checklist — Annual contractor service recommendation and system maintenance overview
- ENERGY STAR — Heating and Cooling Home Guide (PDF) — Filter location guidance (duct vs. equipment)
- ENERGY STAR — Save on Heating Costs This Season — Winter heavy-use filter inspection intervals
- Carrier — How to Clean an AC Drain Line — Shop vac drain-clearing procedure and power-off safety
- Carrier — Clogged AC Drain Line — Technician method confirmation: wet/dry vacuum as primary clearing tool
- Carrier — Why Is My AC Leaking Water? — Frozen coil, cracked pan, and drain clog as water leak causes
- Trane — HVAC Air Filter Maintenance Guide — MERV airflow resistance and filter maintenance
- Trane — MERV Glossary — MERV scale definition and pressure drop warning
- Trane — Filters Help Keep Indoor Air Clean — MERV 8–13 recommendation for most US homes
- Goodman HVAC Learning Center — Maintenance — Condensate drain and filter as routine maintenance items
- Goodman HVAC Learning Center — Operation — 30–90 day filter replacement frequency by usage
- Ultimate Air — What Size Heat Pump Do I Need? — Airflow, humidity control, and maintenance framing for HVAC performance
Keywords: MERV rating, 1-inch pleated furnace filter, air handler, evaporator coil, condensate drain line, P-trap, float switch, wet/dry vacuum, Shop-Vac, utility shutoff switch, SEER2, HSPF2