Yes — if your home has a basement, testing it for radon is one of the most important things you can do for your household's health. The EPA states clearly that "radon levels are often highest in the lowest part of a home or building, so testing in the basement or ground floor is a good place to start." Testing is the only way to know what you're dealing with, and the CDC confirms that a DIY radon test kit is an acceptable starting point for most homeowners.
At a Glance: - Action level: 4.0 pCi/L (EPA threshold — fix the home above this number) - Test type options: Short-term (4–7 days) or long-term (90+ days) - DIY kit cost: Typically $15–$30 at hardware stores - Mitigation cost: Generally $800–$2,500 installed by a certified professional - Skill level: Testing = easy DIY; Mitigation = hire a pro at 4.0 pCi/L or above
Do you need to test a basement for radon?
If you have a basement or another lower-level space suitable for occupancy, testing for radon is strongly recommended. Radon is a colorless, odorless radioactive gas that forms naturally from uranium in soil and rock. It seeps upward through the ground and enters homes through foundation cracks, sump pits, and gaps around pipes. Because basements sit at or below grade, pressure differentials actively pull soil gas inward — and because basements are often the least-ventilated part of a home, radon concentrates there first.
The EPA recommends testing at the lowest level of the home suitable for occupancy, which means the basement is your starting point, not the first floor. If radon is entering the building, the basement is often the first place to show elevated levels. The EPA's action level is 4 pCi/L (picocuries per liter of air); homes at or above that number should be fixed. A radon test kit from a hardware store gives you that number within days.
If you're buying a home, request radon testing as part of your home inspection service. Many inspectors coordinate or subcontract radon measurement, but confirm they're using a qualified radon measurement professional rather than simply placing a consumer kit and calling it done. Either way, the basement is where the test goes.
Why basements are the first place to check for radon
Radon travels the path of least resistance. Soil gas pressure under a foundation slab is generally higher than indoor air pressure, so the gas migrates through any opening it can find — cracks in the slab, floor-wall joints, hollow-block foundations, and utility penetrations. Basements present the largest surface area in contact with the soil and sit directly above that pressure differential. That's why the EPA's testing guidance ties placement to the lowest level suitable for occupancy rather than the main living floor.
Testing on the first floor while skipping the basement can underestimate your actual exposure, especially if anyone sleeps, works, or spends significant time in the lower level.
Where to place the test kit in a basement
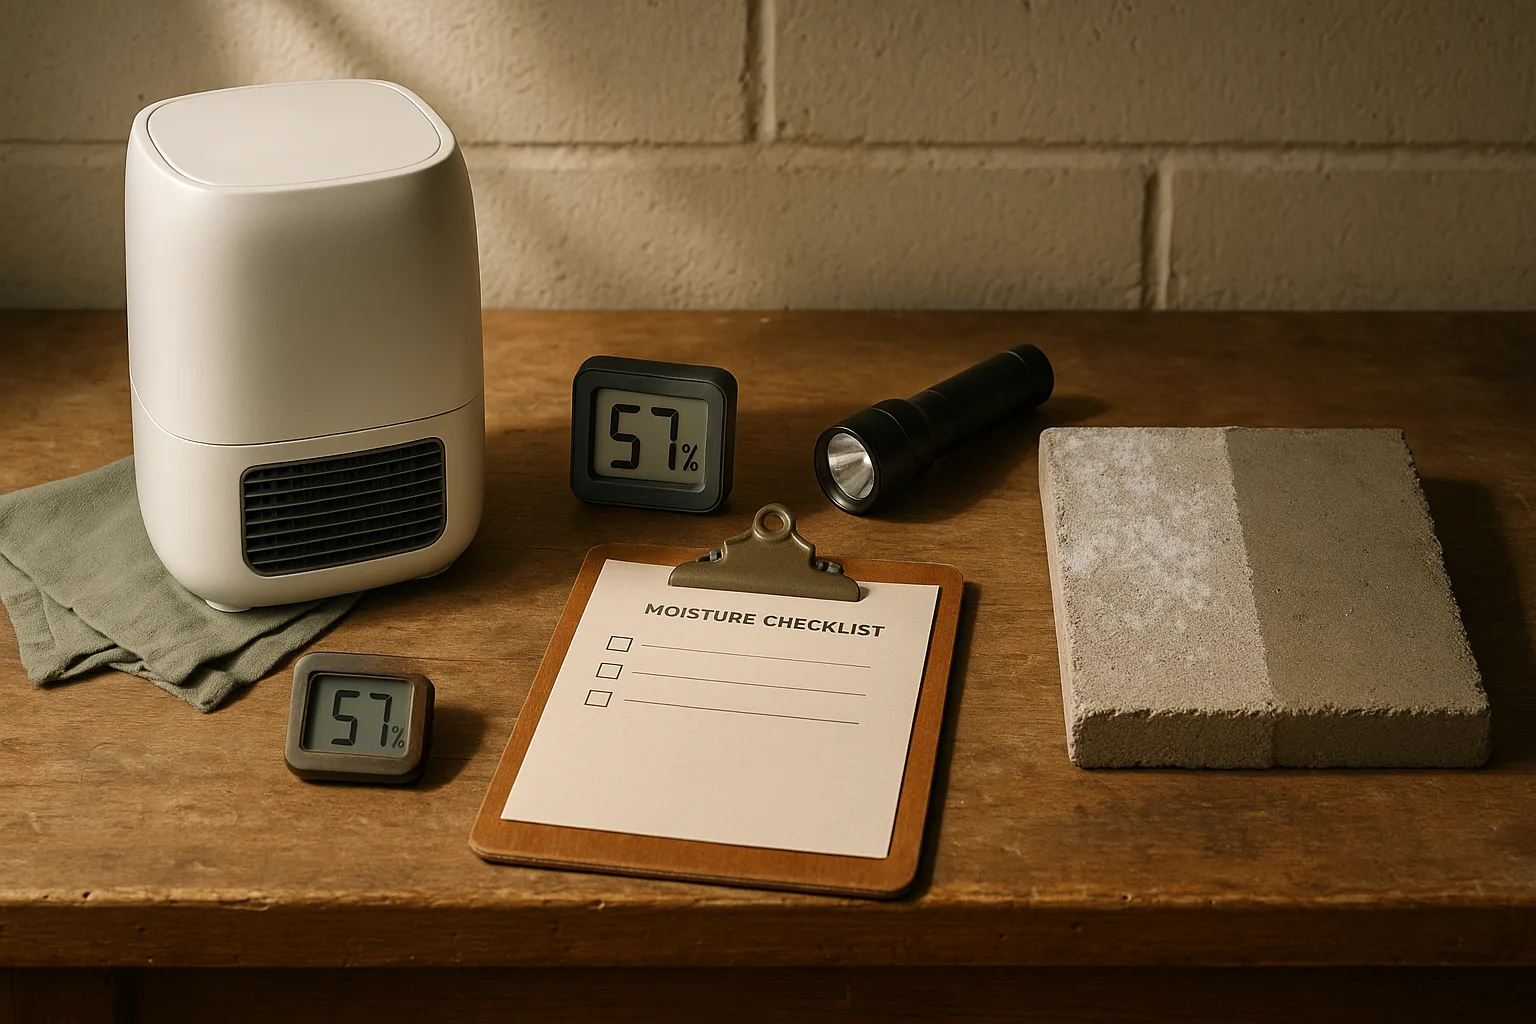
Placement within the basement matters. A radon test kit placed in the wrong spot can return a reading that doesn't represent where people actually breathe.
- Choose the lowest livable area. Pick the part of the basement where people spend time — a finished rec room, a home office, a laundry area used daily. Avoid the utility corner where the furnace sits if no one spends time there. The EPA's placement guidance points to the lowest level suitable for occupancy.
- Height off the floor: Place the kit between 20 inches and 6 feet above the floor. Radon settles, but floor-level readings can be unrepresentative of breathing-zone concentrations.
- Distance from walls: Keep at least 20 inches from exterior walls, which can have different air dynamics than the interior of the room.
- Airflow clearance: The kit needs to sit in still, representative air — not directly in front of a vent, window, or exterior door.
Do NOT place the kit: - Inside or directly over a sump pit - In a bathroom or kitchen (humidity and air movement affect readings) - On an exterior wall or against the foundation itself - In a closet or storage room no one uses
Pro Tip: If you have a finished basement with a separate room and an unfinished utility area, place the kit in the finished room — that's where occupancy happens, and that's the reading that matters for health decisions.
When a basement is unfinished, finished, or partly below grade
The EPA's placement rule doesn't require a finished space — it requires the lowest level suitable for occupancy. All three basement configurations below qualify:
| Basement Type | Test Location | Notes |
|---|---|---|
| Fully unfinished | Open area away from sump pit and HVAC equipment | Still counts as lowest occupiable level |
| Fully finished | Primary living area (rec room, office, bedroom) | Use the space where people spend the most time |
| Walkout / partly below grade | The below-grade portion of the space | Walkout wall side has different dynamics; test toward the interior |
An unfinished basement used only for storage still qualifies — if it's the lowest level, that's where radon enters. Even if you don't use it now, the gas migrates upward to the floors above.
Short-term vs long-term radon tests: which one should you use?
Both test types measure radon accurately, but they serve different decisions. The right choice depends on why you're testing and how fast you need an answer.
| Test Type | Duration | Best Use | Limitation |
|---|---|---|---|
| Short-term | 4–7 days | Fast screening, real estate transactions | Snapshot only; seasonal variation can skew it |
| Long-term | 90+ days | Year-round average exposure; post-first-test confirmation | Slower result; not suitable for time-sensitive closings |
A radon test kit is available in both types at hardware stores and online. If you're buying a home and the contract window is tight, a short-term test is the standard choice. If you already own the home and want to know your true annual exposure — the number most relevant to long-term health risk — use a long-term test or follow a short-term test with a long-term confirmation.
For a home inspection service during a real estate transaction, the inspector typically deploys a short-term test to meet contract deadlines. Confirm that the test follows EPA conditions (see the dos and don'ts section below).
How short-term radon tests work
A short-term test uses a passive collector — most commonly activated charcoal — that you place in the basement, leave undisturbed for 4 to 7 days per EPA guidance, then mail to an accredited lab. The lab measures how much radon the charcoal absorbed and reports a result in pCi/L.
Watch Out: Short-term tests require closed-house conditions for the entire testing period. That means keeping windows and doors closed except for normal entry and exit. Breaking this condition is the single most common reason a short-term test result is unreliable.
The radon test kit package will include lab-specific instructions — follow them precisely, including the timing for opening and sealing the kit. Starting the test on a Monday and mailing it the following week is a typical rhythm.
How long-term radon tests work
A long-term test — usually an alpha track detector — stays in place for more than 90 days. Over that span, it captures radon levels across different seasons, weather patterns, and household ventilation habits. EPA guidance confirms that long-term tests greater than 90 days are more likely to represent the home's year-round average radon level than a short-term test.
That matters because radon levels fluctuate. A short-term test taken in July (windows cracked, lower indoor pressure differentials) may read lower than a January test in a tightly sealed house. A 90-day or longer radon test kit smooths out those swings and gives you the number that actually governs your cumulative exposure.
If your short-term test comes back between 2.0 and 4.0 pCi/L, a long-term follow-up test is the most defensible next step before deciding whether mitigation is warranted.
Radon test dos and don'ts that can invalidate the reading
A test that returns an inaccurate result is worse than no test — it can give you false confidence or send you chasing mitigation you don't need. EPA's guidance on short-term radon test kit conditions is specific: maintain closed-house conditions and follow the laboratory's instructions for the specific device. EPA closed-house guidance is the standard to follow for the testing period.
The checklist:
- ✅ Keep windows and exterior doors closed except for brief normal entry/exit
- ✅ Leave the kit in place undisturbed for the full test duration
- ✅ Place the kit in the breathing zone (20 inches to 6 feet above the floor)
- ✅ Mail the kit to the lab promptly after the test period ends
- ❌ Do not open windows or run whole-house fans during the test
- ❌ Do not run heat-recovery ventilators (HRVs) or energy-recovery ventilators (ERVs) on high during the test period
- ❌ Do not move or bump the kit
- ❌ Do not test during or immediately after a major storm (severe low-pressure weather temporarily draws more radon up through the soil)
- ❌ Do not place the kit near high-humidity sources like a running dehumidifier exhaust
Open windows, fans, and HVAC changes during testing
Opening windows does not solve a radon problem, and it will invalidate your short-term test result. The EPA states it directly: "For a short-term test ranging from 4-7 days, EPA recommends that closed-house conditions be maintained."
Watch Out: Ventilation is not a reliable substitute for mitigation. Opening windows can temporarily dilute radon, but the moment you close them — in winter, during a storm, or when you go to sleep — levels climb back up. EPA's Consumer's Guide to Radon Reduction focuses entirely on installed pressure-based reduction systems, not airing out the house, because ventilation alone cannot consistently maintain safe levels.
Running ceiling fans, portable fans, or an HRV on high during a short-term test artificially flushes radon out and produces a reading lower than the home's actual level. The result looks safe. It isn't. If you want an accurate reading, close the house and leave it that way.
Other common mistakes that can skew a basement test
- Moving the kit mid-test. Even relocating it a few feet changes the air sample and may void the reading per the lab's protocol.
- Blocking the kit. Setting a box or appliance directly next to the collector restricts airflow and concentrates or disperses radon around the device, skewing results.
- Testing during a long-duration storm system. Extended low-pressure systems pull more radon from the soil. A 4-day test that coincides with a 3-day nor'easter may read artificially high — wait for stable weather.
- Using an expired kit. Activated charcoal kits have a shelf life. Check the expiration date before deploying.
- Forgetting to note start and end times. Labs need the precise exposure duration to calculate your pCi/L result accurately.
Pro Tip: Write the start date, start time, end date, and end time directly on the kit with a Sharpie. Don't rely on memory or a separate note that can get separated from the kit.
What does a radon result of 4.0 pCi/L or higher mean?
A result at or above the EPA action level of 4.0 pCi/L means your home needs mitigation — not eventually, not after a second test, not with a "wait and see." The EPA is unambiguous: homes at or above 4 pCi/L should be fixed. The CDC echoes this, recommending that a licensed professional install a radon reduction system when levels reach this threshold.
To put 4.0 pCi/L in practical terms: the EPA estimates that roughly 1 in 15 American homes has radon levels at or above the action level. The risk is cumulative and dose-dependent — radon is the second leading cause of lung cancer in the US after cigarette smoking. The higher the level and the longer the exposure, the greater the risk. A result of 8 pCi/L is not a minor overage; it doubles the concentration at which EPA says you must act.
[Image: Result-interpretation chart — radon pCi/L levels and recommended actions]
How to read low, borderline, and high radon results
| Result (pCi/L) | Classification | Recommended Action |
|---|---|---|
| Below 2.0 | Low | No immediate action needed; retest every 2 years or after major renovations |
| 2.0 – 3.9 | Borderline | EPA notes that even these levels still pose risk and may be reducible; consider a long-term test to confirm, then discuss mitigation |
| 4.0 and above | At or above action level | Fix the home; hire a certified radon mitigator |
| 8.0 and above | High | Fix the home promptly; at this level, EPA guidance supports acting quickly rather than running a second test first |
The borderline range (2.0–3.9) is where homeowners most often freeze. The honest answer: a result in this range still carries real risk, and mitigation at these levels is feasible and worthwhile. Run a long-term test to get a more accurate annual average, then make the call with that number in hand.
When to Call a Pro: If the result is 4.0 pCi/L or higher, contact a certified radon mitigator right away and schedule a mitigation system. If the result is 8.0 pCi/L or higher, move quickly rather than waiting for a second round of testing.
Why a single high test should not be ignored
Some homeowners dismiss an elevated short-term result as a fluke — "maybe it was the weather" or "I'll test again in spring." That logic is understandable but risky. EPA notes that even radon levels below 4 pCi/L still pose a risk, which means a reading at or above 4 pCi/L is not a borderline situation — it's a confirmed signal.
Seasonal variation is real: winter readings tend to run higher than summer readings in most climates because houses are tighter. But that variation doesn't make a high winter reading irrelevant. People spend more time indoors in winter. Exposure accumulates. If you get a high short-term result in winter, the appropriate response is to treat it as a real finding and act, not to wait for a summer retest to produce a lower number.
Watch Out: If your short-term result is 4.0 pCi/L or above, don't use seasonal variation as a reason to delay. Run a confirmatory long-term test only if the result is in the 2.0–3.9 borderline range and you want a more precise annual average before committing to mitigation costs. At 4.0+, the evidence already supports action.
What to do if basement radon is high
When your result is at or above 4.0 pCi/L, the path is straightforward: hire a certified radon mitigator to install a mitigation system. That's it. Not a ventilation strategy, not a sealing project, not an air purifier — a properly installed mitigation system.
When to Call a Pro: If the reading is 4.0 pCi/L or higher, the next step is professional mitigation, not another round of guesswork. A certified installer can size the system correctly and verify the reduction after installation.
[Image: Mitigation decision flowchart — from test result to verified fix]
Here's how to think through the decision:
- Result below 2.0 pCi/L: No action needed now. Retest in 2 years or after any foundation work.
- Result 2.0–3.9 pCi/L: Run a long-term test to confirm annual average. If the long-term result stays in this range, mitigation is optional but worthwhile. If the long-term result reaches 4.0, mitigate.
- Result 4.0 pCi/L or above: Contact a certified radon mitigator. Schedule the system installation. Do not delay.
- Result 8.0 pCi/L or above: Act promptly. At this level, the EPA's guidance supports moving directly to mitigation rather than running a second confirmatory test.
When to hire a certified radon mitigator
At or above 4.0 pCi/L, hire a professional — this is not a DIY project. The CDC's guidance specifically recommends a licensed professional install the radon reduction system at this threshold, and EPA-linked guidance aligns: pressure-based mitigation systems require correct site assessment, suction point selection, and fan sizing to work reliably.
DIY vs Pro: Self-installed mitigation kits exist, but they lack the diagnostic step that determines where and how the system should be placed. A certified radon mitigator assesses the sub-slab communication (how well air moves beneath the slab), selects the correct fan, and verifies the pressure field extension after installation. For a straightforward basement with a simple slab, DIY installation is physically possible. But if your result is above 4 pCi/L, the cost difference between a correctly installed professional system and a misplaced DIY attempt isn't worth the gamble.
Find a certified radon mitigator through the National Radon Proficiency Program (NRPP) or the National Radon Safety Board (NRSB). Ask for proof of certification and request references from recent jobs in your area.
Basement layout complexity also matters. A poured concrete slab with one level is the simplest case. A basement with a sump pit, a crawl space section, block foundation walls, or multiple floor levels requires a mitigator who can account for those variables in system design. Don't assume the lowest bid understands your specific foundation.
What a mitigation system usually involves
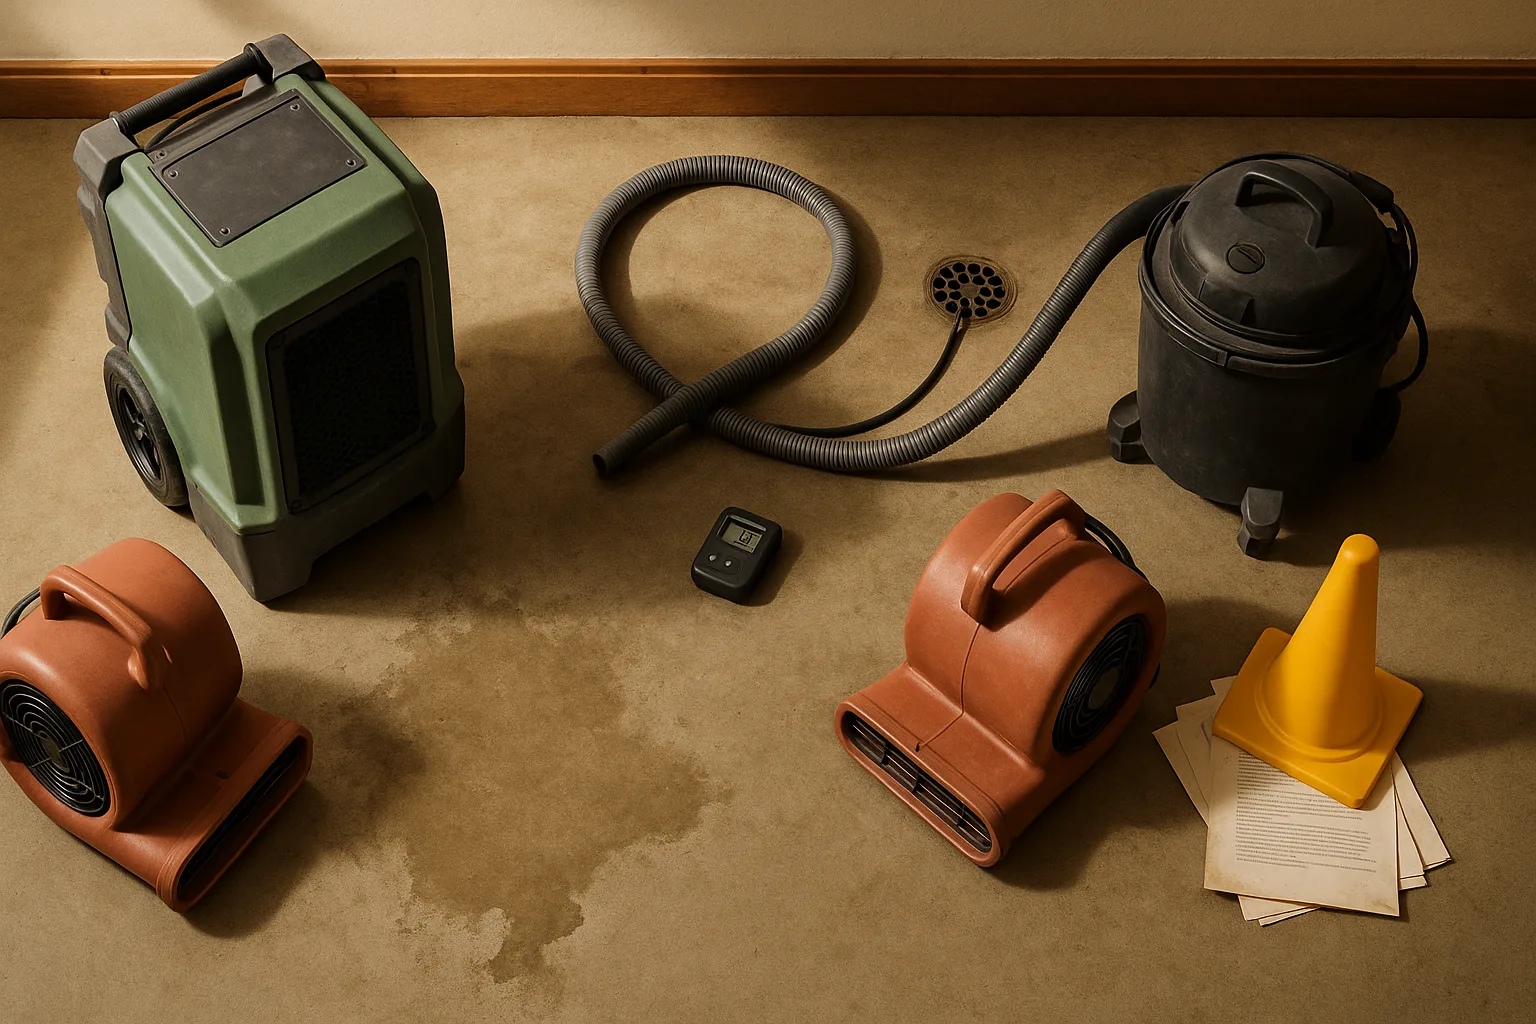
A standard radon mitigation service for a basement installs a sub-slab depressurization system. Here's what that means in practice:
- Suction point(s): The mitigator drills one or more holes through the concrete slab and removes material to create a void beneath the slab where suction can be applied.
- PVC piping: Pipe runs from the suction point up through the basement, typically through the interior of the house or along an exterior wall, to exit above the roofline.
- Radon mitigation fan: An inline fan — typically mounted in an unconditioned space like the attic or garage, or on the exterior — draws air continuously from beneath the slab and exhausts it outside.
- Vent stack: The pipe terminates above the roofline or away from windows and HVAC intakes to ensure the exhausted radon disperses outdoors rather than re-entering the building.
The physics is simple but effective: the fan creates negative pressure beneath the slab, so the sub-slab pressure drops below indoor pressure. Instead of soil gas pushing into the house, the system pulls it out before it can enter. EPA technical guidance identifies sub-slab depressurization as a pressure-based method that reliably limits radon entry when properly installed.
A well-installed system runs continuously, is relatively quiet, and uses a modest amount of electricity. Most systems include a visual pressure indicator (a U-tube manometer) so you can confirm the fan is working at a glance.
Cost Snapshot: Sub-slab depressurization installation typically runs $800–$2,500 depending on system complexity, number of suction points, and local labor rates. Post-mitigation testing adds another $15–$30 for a DIY kit, or more for a professional test.
Why sealing cracks alone is not enough
Sealing foundation cracks is part of good building maintenance, but it is not a radon fix. The EPA is direct on this point: "EPA does not recommend the use of sealing alone to reduce radon because, by itself, sealing has not been shown to lower radon levels significantly or consistently."
The reason: radon doesn't only enter through visible cracks. It moves through microscopic pores in concrete, through the joint where the floor meets the wall, through hollow-core block foundations, and around any pipe or utility penetration. Sealing the cracks you can see doesn't address the pathways you can't. A sealed crack can also re-open with foundation movement over time.
A radon mitigation service may include sealing visible cracks and the floor-wall joint as part of the installation — sealing improves the efficiency of the sub-slab depressurization system by reducing short-circuit pathways. But sealing is a supplement to the pressure-based system, not a substitute for it. If a contractor suggests sealing alone as your radon fix, find a different contractor.
How to verify the fix after radon mitigation
Mitigation installation is not the finish line — post-mitigation testing is. The CDC recommends testing before and after any repairs to reduce radon levels, and this is the step many homeowners skip, assuming the system works because it's running. Assume nothing. A fan that's running but exhausting against blocked piping, or a suction point that doesn't extend beneath the full slab area, can leave pockets of elevated radon even with the system operating.
Post-Mitigation Verification: Don't assume a running fan means success. Confirm the system with a follow-up test after installation so you know the basement level actually dropped below the action threshold.
Pro Tip: Request that your certified radon mitigator conduct a diagnostic pressure field extension test during installation — this confirms the sub-slab suction reaches the full area beneath the slab, not just the spot near the drill hole.
When to retest after a mitigation system is installed
Follow this retesting checklist:
- Wait at least 24 hours after system activation before beginning any post-mitigation test. The system needs time to establish steady-state pressure beneath the slab.
- Place a new radon test kit in the same location used for the original test — the lowest livable area of the basement.
- Run at minimum a 48-hour short-term test (follow your kit's instructions). A longer test gives a more reliable confirmation.
- Mail the kit to the lab and review results. The target result is below 4 pCi/L; ideally below 2 pCi/L. EPA's long-term goal for indoor radon is as low as reasonably achievable.
- If the post-mitigation result is still at or above 4 pCi/L, contact your mitigator. The system may need an additional suction point, a higher-capacity fan, or attention to a bypass pathway.
- Retest every 2 years going forward, or after any renovation that touches the foundation, slab, or HVAC system.
Post-mitigation testing is the only way to confirm the system is doing its job. A certified radon mitigator should offer or recommend post-mitigation testing as part of the job — if yours doesn't mention it, ask.
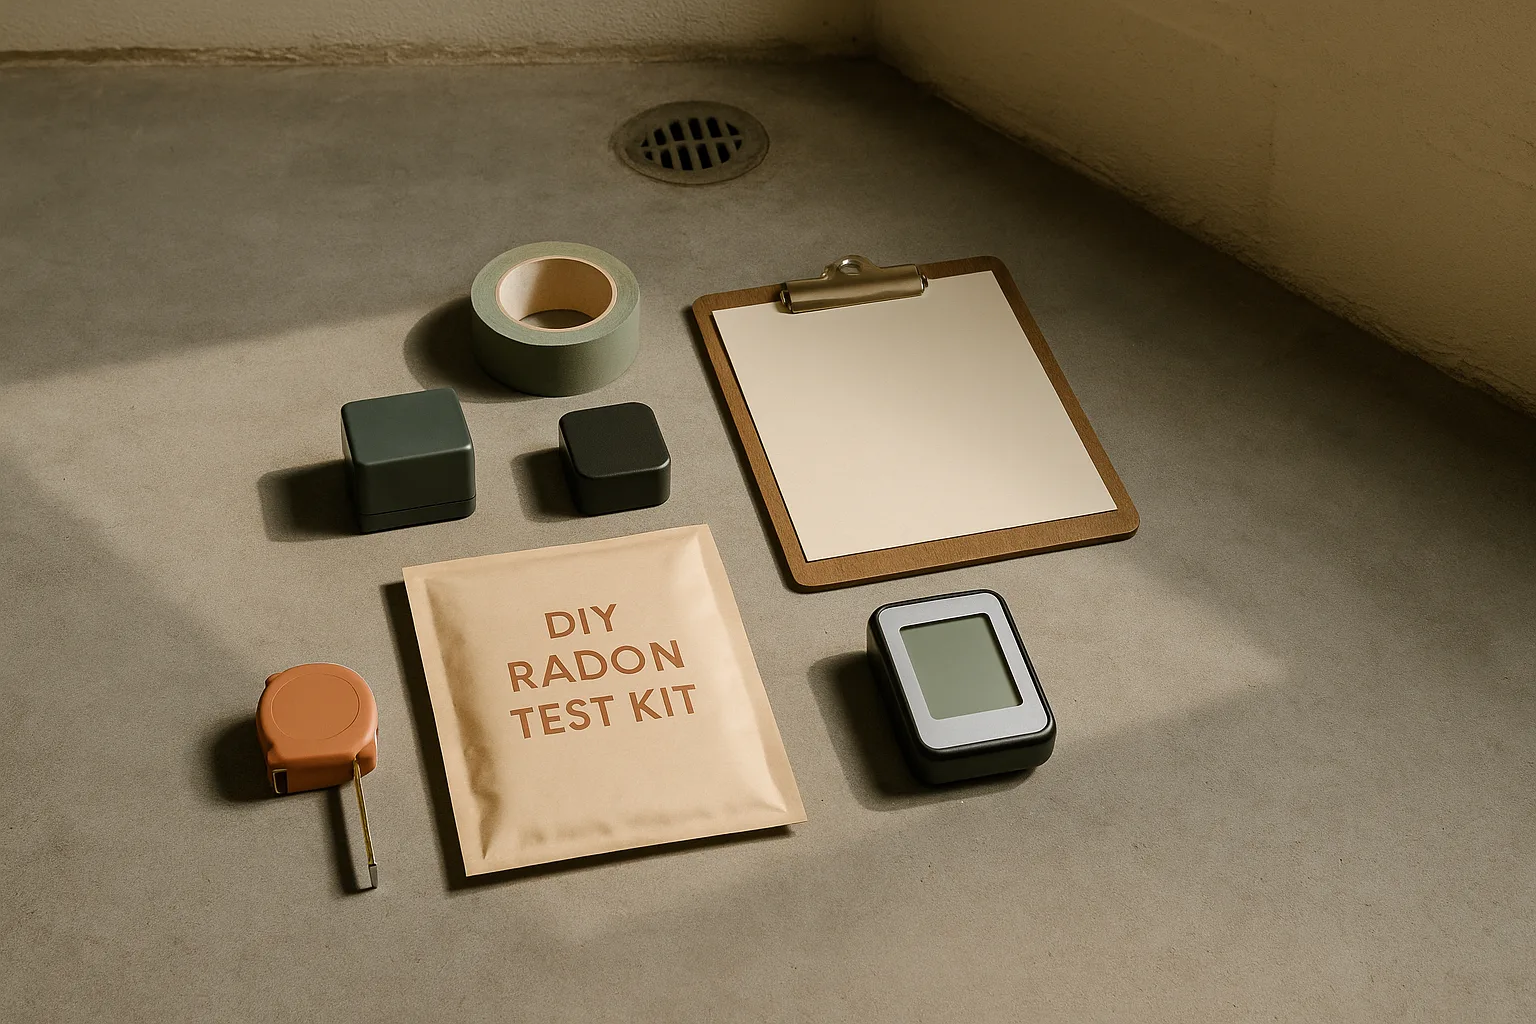
How to choose a radon test kit or inspection path
A DIY radon test kit — available for $15–$30 at hardware stores like Home Depot or Lowe's, or through online retailers — is the right starting point for most homeowners. The CDC confirms that testing can be done by using a do-it-yourself kit from a hardware store. Look for kits that include lab analysis in the purchase price and that direct you to an EPA-approved or state-certified laboratory.
If you're in a real estate transaction, a home inspection service may include radon testing or refer you to a qualified radon measurement professional. Make sure the test follows EPA placement and closed-house conditions — ask the inspector or radon tester to confirm this in writing. A test run under improper conditions can affect whether a seller is obligated to mitigate under your contract terms.
When to upgrade from DIY kit to professional measurement: - You're in a real estate transaction and need a defensible, documented result - Your initial DIY result is in the borderline range (2.0–3.9 pCi/L) and you want a certified reading before committing to mitigation costs - You've installed mitigation and want a certified post-mitigation result for your records or for resale
Basement radon test FAQ
Where should I place a radon test in a basement?
Place the radon test kit in the lowest level of the home suitable for occupancy — the area of the basement where people spend time. Keep it 20 inches to 6 feet off the floor, at least 20 inches from exterior walls, and away from drafts, sump pits, bathrooms, and kitchens. For an unfinished basement, place it in the open area away from the furnace and sump pit. For a finished basement, use the primary living space.
How long should a basement radon test be left in place?
Short-term tests run 4 to 7 days under closed-house conditions, per EPA guidance. Long-term tests run more than 90 days and give a better picture of your year-round average exposure. For most initial screenings, a short-term test is practical. If the result is borderline (2.0–3.9 pCi/L), follow up with a long-term test before making a mitigation decision.
What should I do if my basement radon level is 4.0 pCi/L or higher?
Contact a certified radon mitigator and schedule installation of a sub-slab depressurization system. The EPA action level of 4.0 pCi/L means the home should be fixed, and the CDC recommends a licensed professional handle the installation. After the system is installed, run a post-mitigation test to confirm the result dropped below the action level.
Can I just open windows to lower radon?
No — and opening windows will also invalidate your short-term test result. Ventilation can temporarily dilute radon, but once windows close, levels rebound. EPA's guidance on radon reduction focuses on pressure-based installed systems, not airing out the house, because ventilation alone cannot reliably maintain safe radon levels over time. It is not an adequate substitute for a properly installed mitigation system.
Does sealing basement cracks fix a radon problem?
No. The EPA is explicit: "EPA does not recommend the use of sealing alone to reduce radon because, by itself, sealing has not been shown to lower radon levels significantly or consistently." Sealing may be part of a mitigation installation, but it is not a standalone solution. Radon enters through pores, joints, and pathways that cannot all be sealed from the interior.
Sources & References
- EPA Radon in Homes, Schools, and Buildings — Primary EPA guidance on radon testing placement and action levels
- EPA: What is EPA's Action Level for Radon? — Official explanation of the 4.0 pCi/L action level
- EPA Radon Homepage — Central EPA radon resource hub
- CDC Radon Testing Guidance — CDC guidance on testing methods and professional mitigation
- CDC Radon Reduction Features — CDC guidance on testing before and after repairs
- EPA Home Buyer's and Seller's Guide to Radon (PDF) — Short-term and long-term test protocols, closed-house conditions, placement rules
- EPA Consumer's Guide to Radon Reduction (PDF) — Mitigation methods and why ventilation alone is inadequate
- EPA Radon Measurement Protocols Archive (PDF) — Lowest level suitable for occupancy placement rules
- EPA Homes Radon Testing Protocols Archive (PDF) — Long-term test duration and year-round average methodology
- EPA Citizens Guide to Radon (PDF) — Risk at levels below 4 pCi/L; action rationale
- EPA Radon Reduction Methods — Sealing (PDF) — EPA statement that sealing alone does not reliably reduce radon
- EPA Sub-Slab Depressurization Technical Guidance (PDF) — Technical description of sub-slab depressurization system components and pressure mechanics
Keywords: EPA action level 4.0 pCi/L, short-term radon test, long-term radon test, lowest level suitable for occupancy, sub-slab depressurization system, radon mitigation fan, sealed foundation cracks, EPA Consumer's Guide to Radon Reduction, EPA Citizens Guide to Radon, qualified radon measurement professional, certified radon mitigator, post-mitigation testing, home inspection service, radon test kit, CDC radon testing guidance